
Journal
Technical rope work is both a science and an art. It’s a balancing act between situation, simplicity, efficiency, and proven understanding. Anchoring is an excellent example of this. Every system, if fully understood and applied correctly, is valid, but to use only one system without considering situational factors is limiting and shortsighted.
If each anchor point within the system is bombproof, it almost doesn't matter what style of anchor system you use. But in real-world situations, with suboptimal anchor points, need for more effective stance management, or situations where the anchor needs to accommodate multiple directions of loading, there are certain anchor types that perform better than others.
COMMON ANCHORS
Three-point sequential, pre-equalized anchor.
Pre-Equalized
The classic pre-equalized anchor (Fig. 1) is the most commonly used sequential anchor system. It's clean, quick to tie, redundant, efficiently uses material, has a well defined masterpoint, and has no extension of the masterpoint if there is an anchor arm failure.
The main problems with the classic pre-equalized anchor system are potential unequal and unpredictable load distribution.
The length of anchor arms and the amount of material in each anchor arm (single strand vs. a loop) affect load distribution due to variable amounts of material elongation (stretch) in each arm. This can create a situation where the shortest anchor arm of the system receives a significantly greater portion of the overall load, putting more load onto an individual piece in the anchor system.
As mentioned above, with high quality anchor points this may not be an issue, but with less than ideal placements this could lead to anchor point failure and potentially catastrophic complete anchor failure.
Distributive
Two-point self-equalizing, sliding X anchor.
Distributive anchors theoretically distribute the overall load evenly to all anchor points within the system, reducing the likelihood of a single point failure, and can accommodate multiple directions of pull at the masterpoint.
The self-adjusting nature of the masterpoint allows a wide range of motion which can compensate for directional changes. The "sliding x" (Fig. 2) is the most common of the traditional distributive anchors.
With this style, however, anchors consisting of more than two anchor points can increase friction and prevent effective load distribution, extension of the masterpoint if there is anchor arm failure, and redundancy in the material.
The Equalette anchor, a hybrid that blends components of sequential and distributive systems.
The Equalette
The Equalette is a hybrid anchor that blends components of sequential and distributive systems. It addresses many of the problems of both the classic pre-equalized and distributive anchor systems.
The Equalette maintains redundancy throughout the entire system, loads points within the system more predictably and has the ability for the masterpoint to shift when there is load change. One of advantage of the Equalette is that it always loads at least two anchor points within the system at any given time.
In a three point Equalette there will be one leg in the system that theoretically receives 50-percent of the load. Even while improving upon the issues associated with pre-equalized and "sliding x" anchor systems, the Equalette still presents challenges to users.
The sequential side (the pre-equalized legs) of the Equalette has the problem of uneven arm lengths affecting load distribution and the system also suffers from friction at the masterpoint. The masterpoint is less defined compared to the classic pre-equalized anchor, which can be an issue in multi-pitch stance management when clipping multiple carabiners to the same masterpoint.
The Equalette is a step forward in anchoring construction, but is not the end of the evolution of anchor systems.
The Quad
The Quad is a newer distributive style of anchor system that addresses redundancy by incorporating multiple isolated strands of material that guard against system failure due to cutting of individual strands.
The Quad utilizes a "straight V" inside the "quad pocket" which gives it similar load sharing qualities at the masterpoint as the Equalette. With a two-point anchor, each anchor point receives as close to 50-percent of the overall load as possible, decreasing the likelihood of anchor point failure.
Both the Quad and the Equalette have a certain amount of extension that is inherent with any distributive or hybrid anchor system. Extension can be managed with the thoughtful placement of limiting knots. The more that extension is limited the more the lateral range of the system is reduced.
When encountering multiple two point anchors, like on multi-pitch rock and ice climbs, the Quad can be pre-tied and used repeatedly for efficient transitions. The Quad can also be used with three and four point anchor systems with a few variations. When used in this configuration, the Quad becomes the next step in the evolution of anchor systems beyond the Equalette.
Location: Arizona, Secret Mountain Wilderness
Rating: 3B-III R
Longest Rappel: 100'
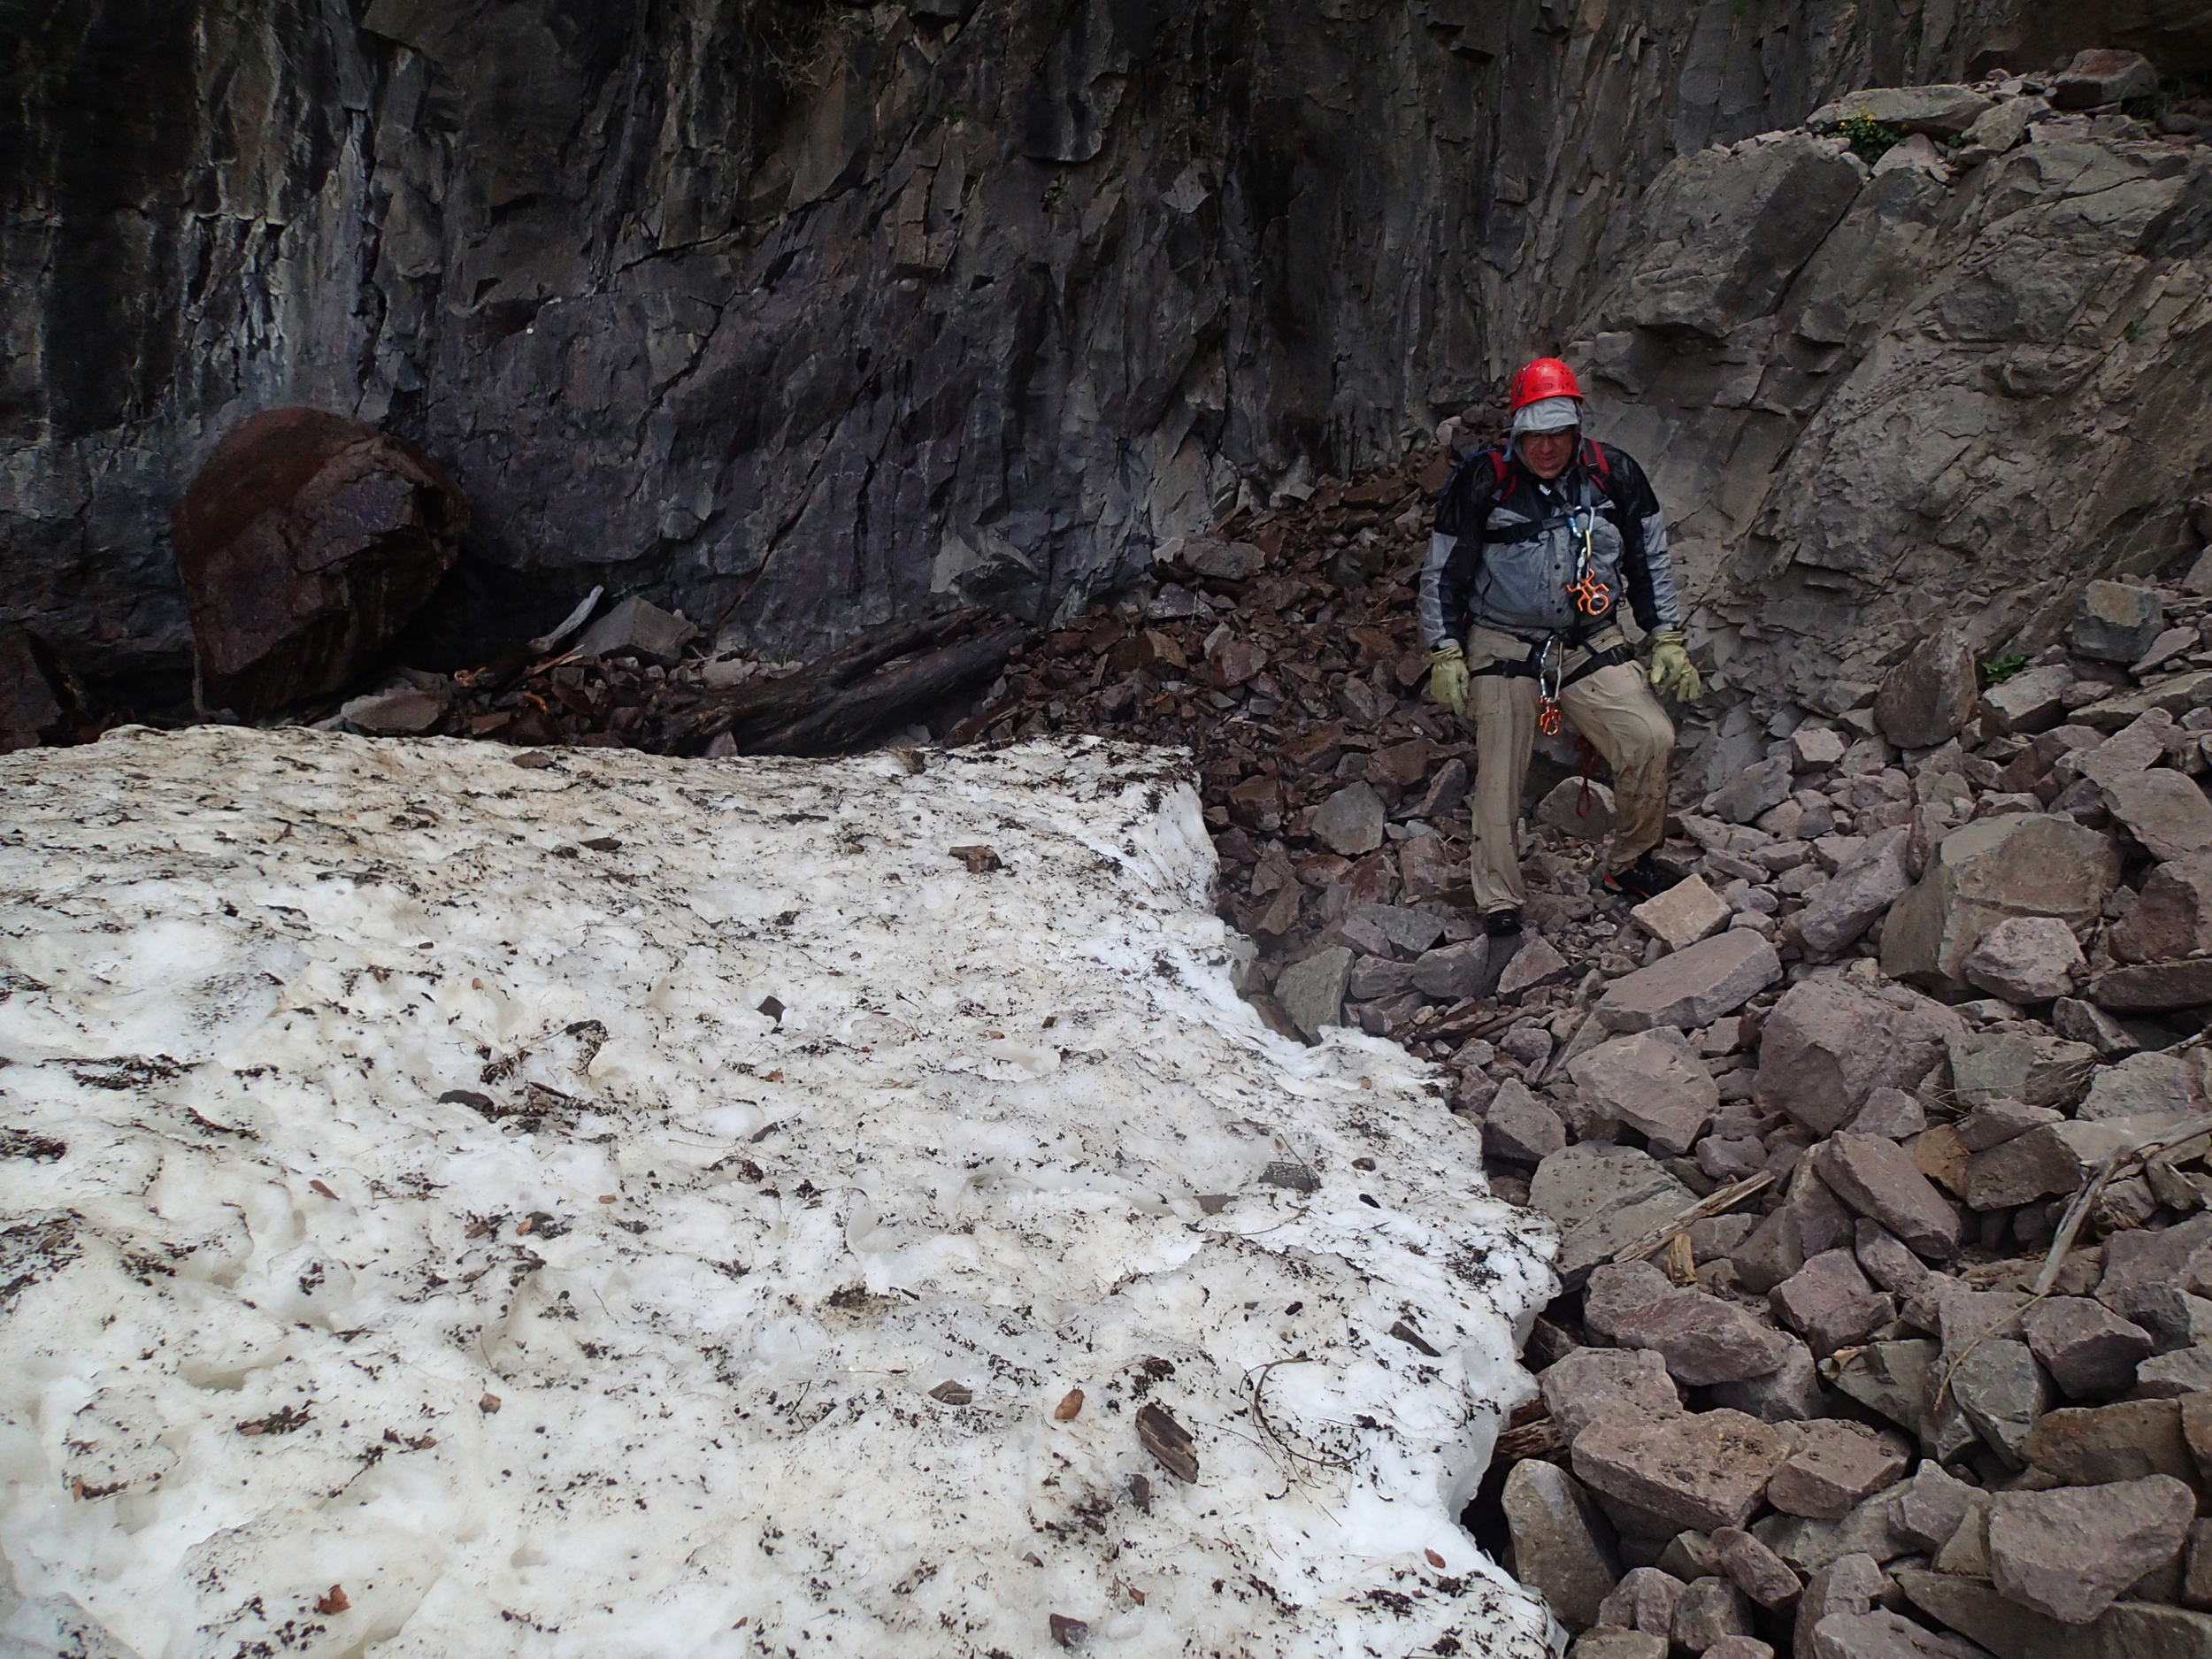
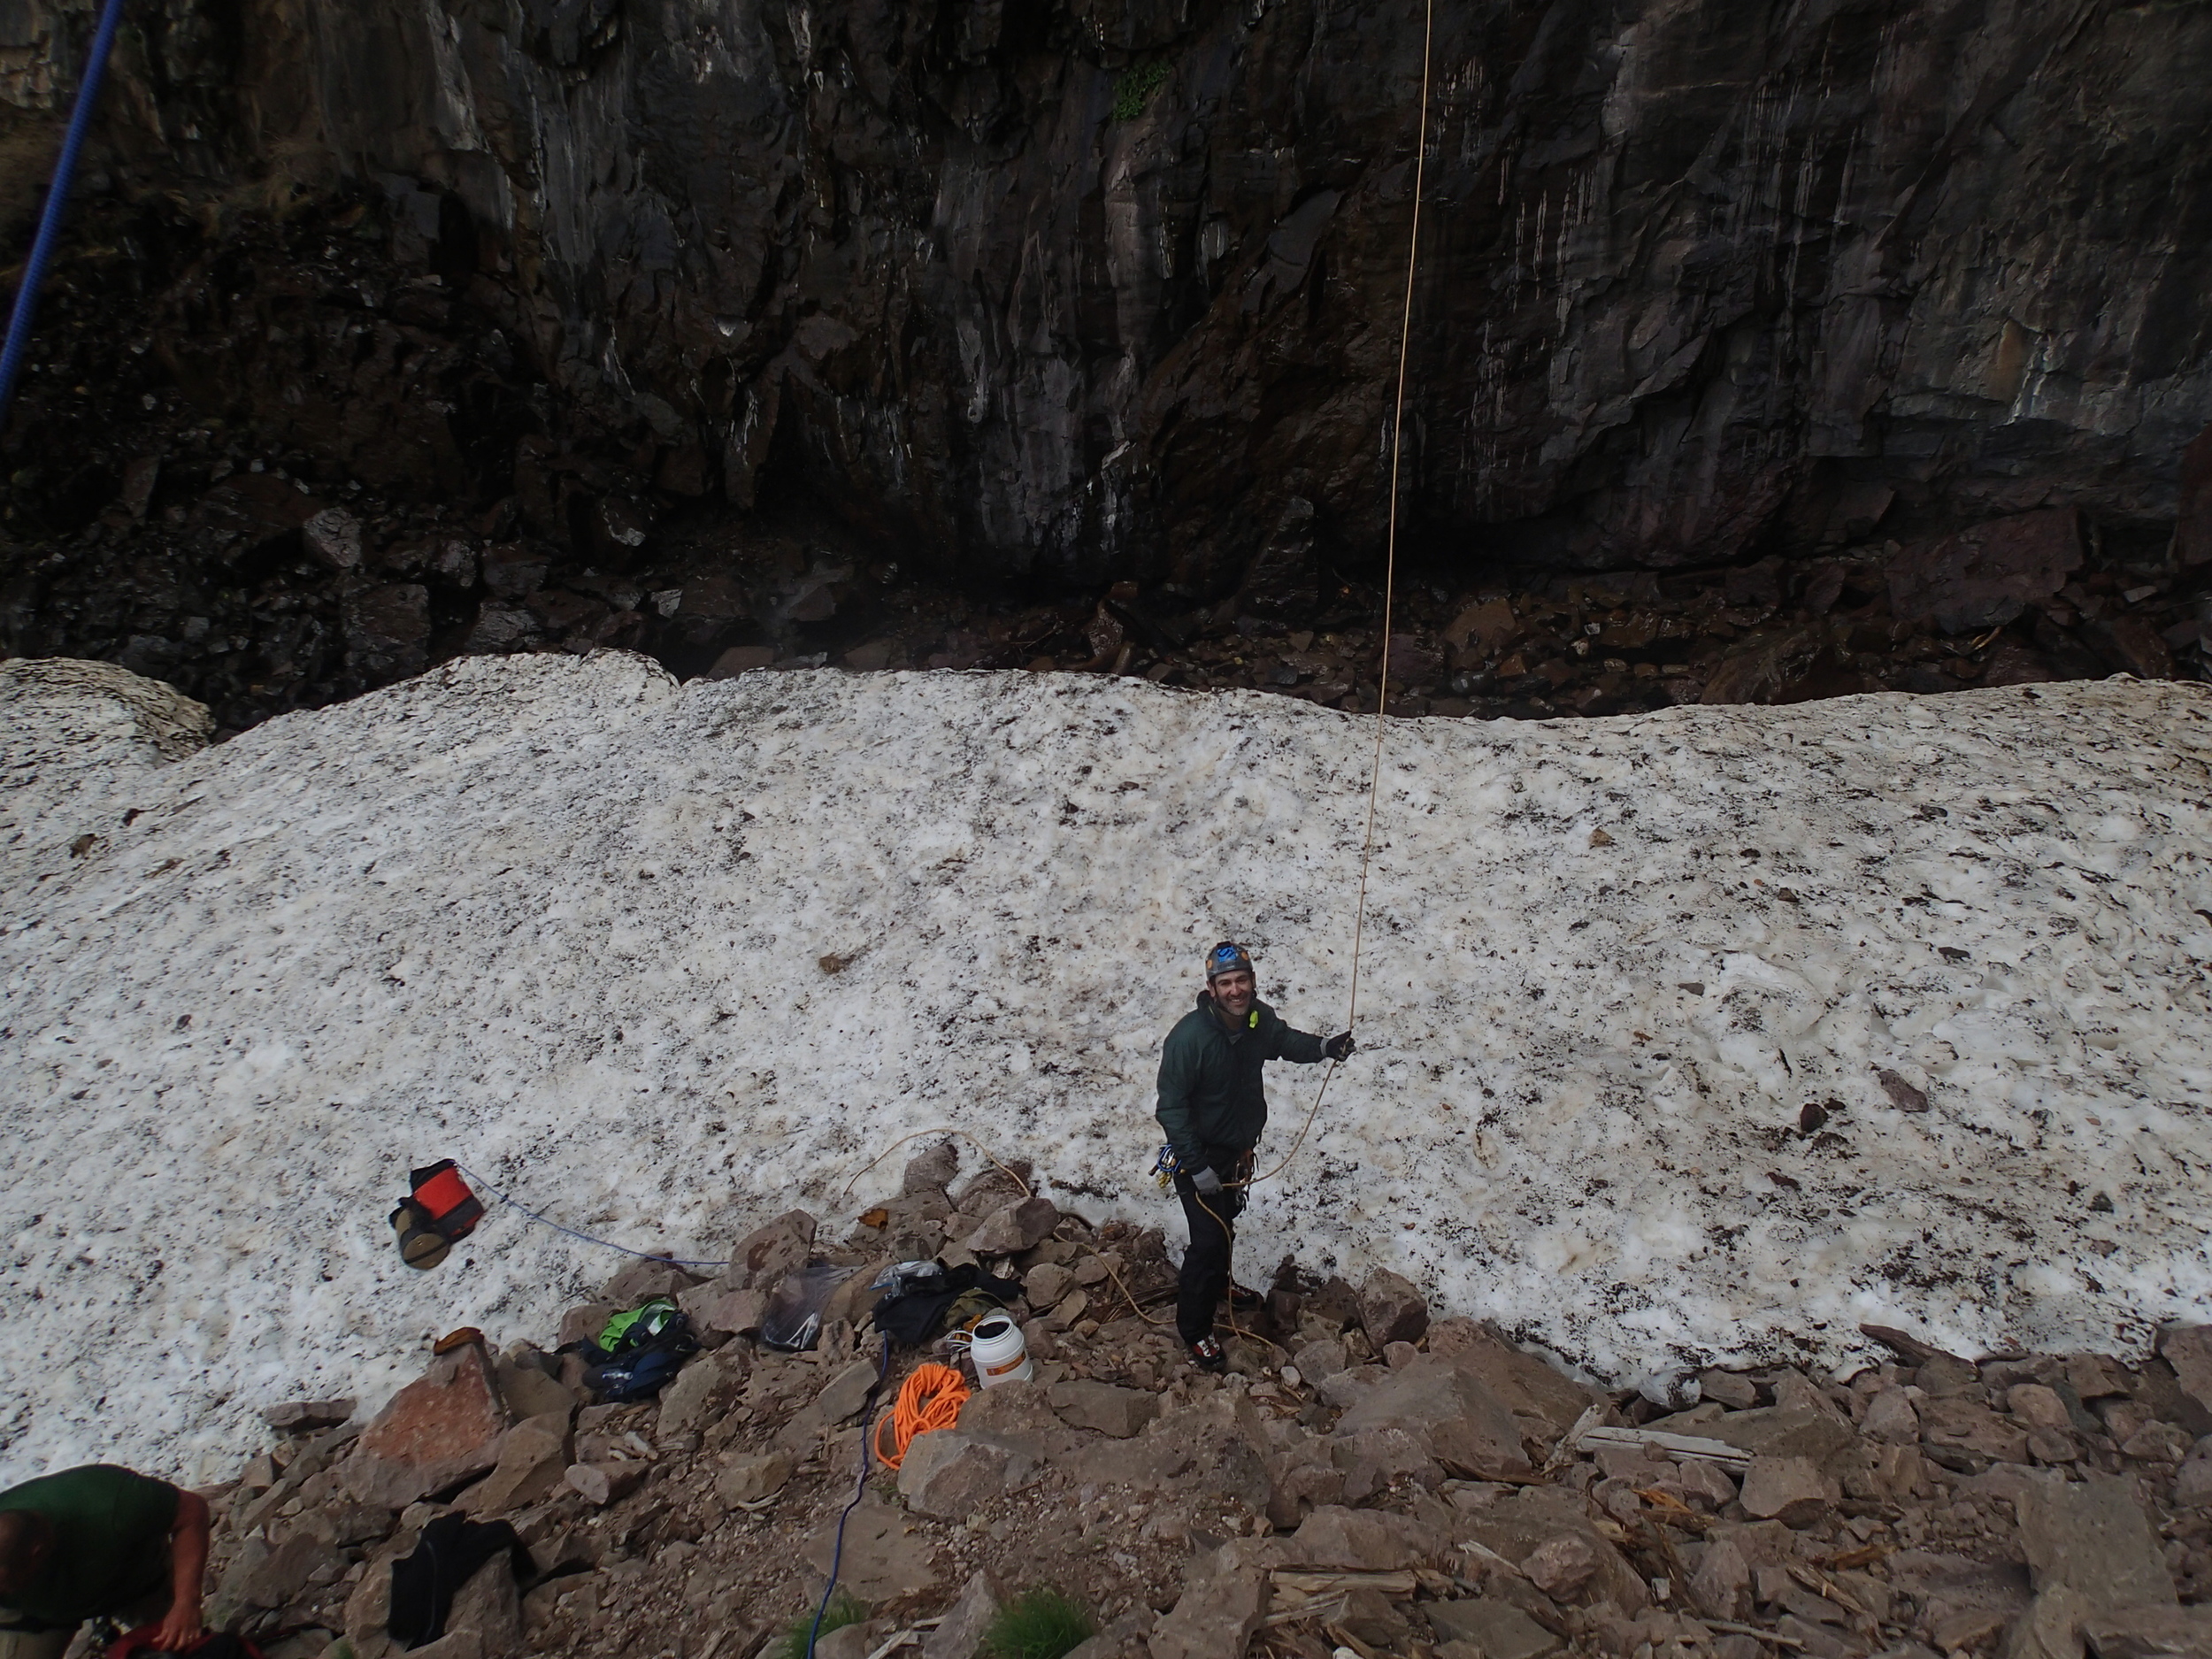
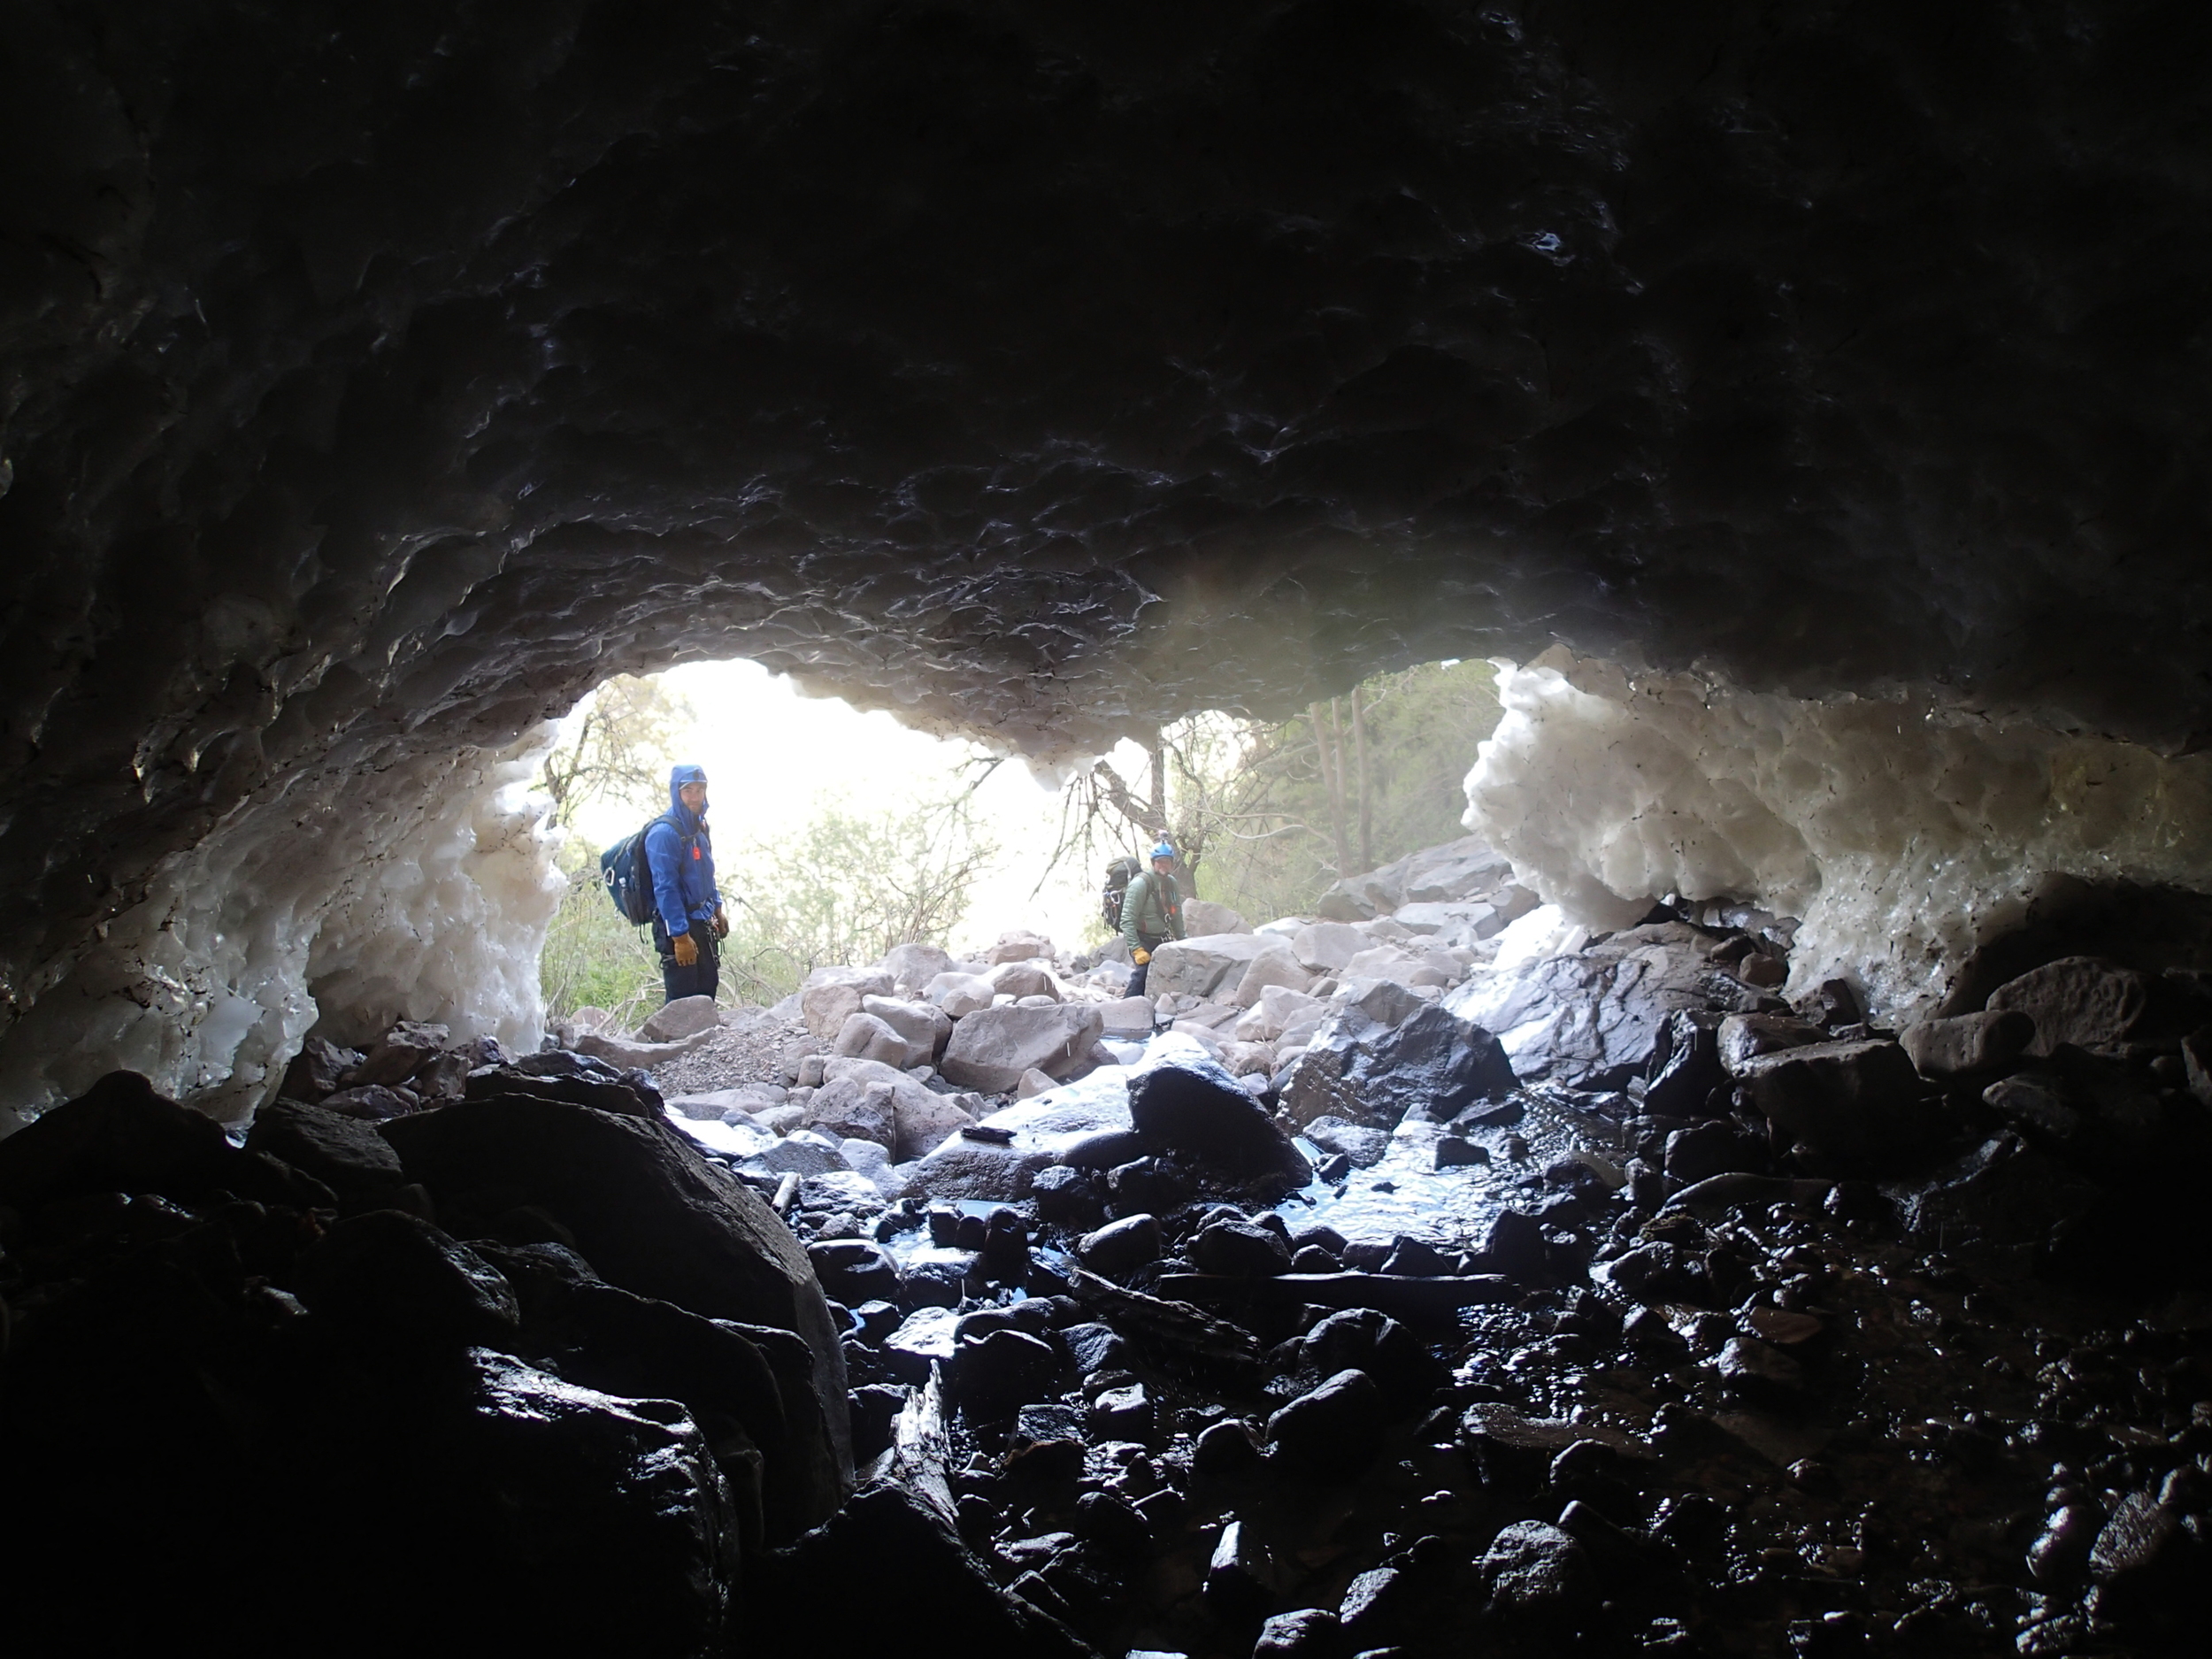
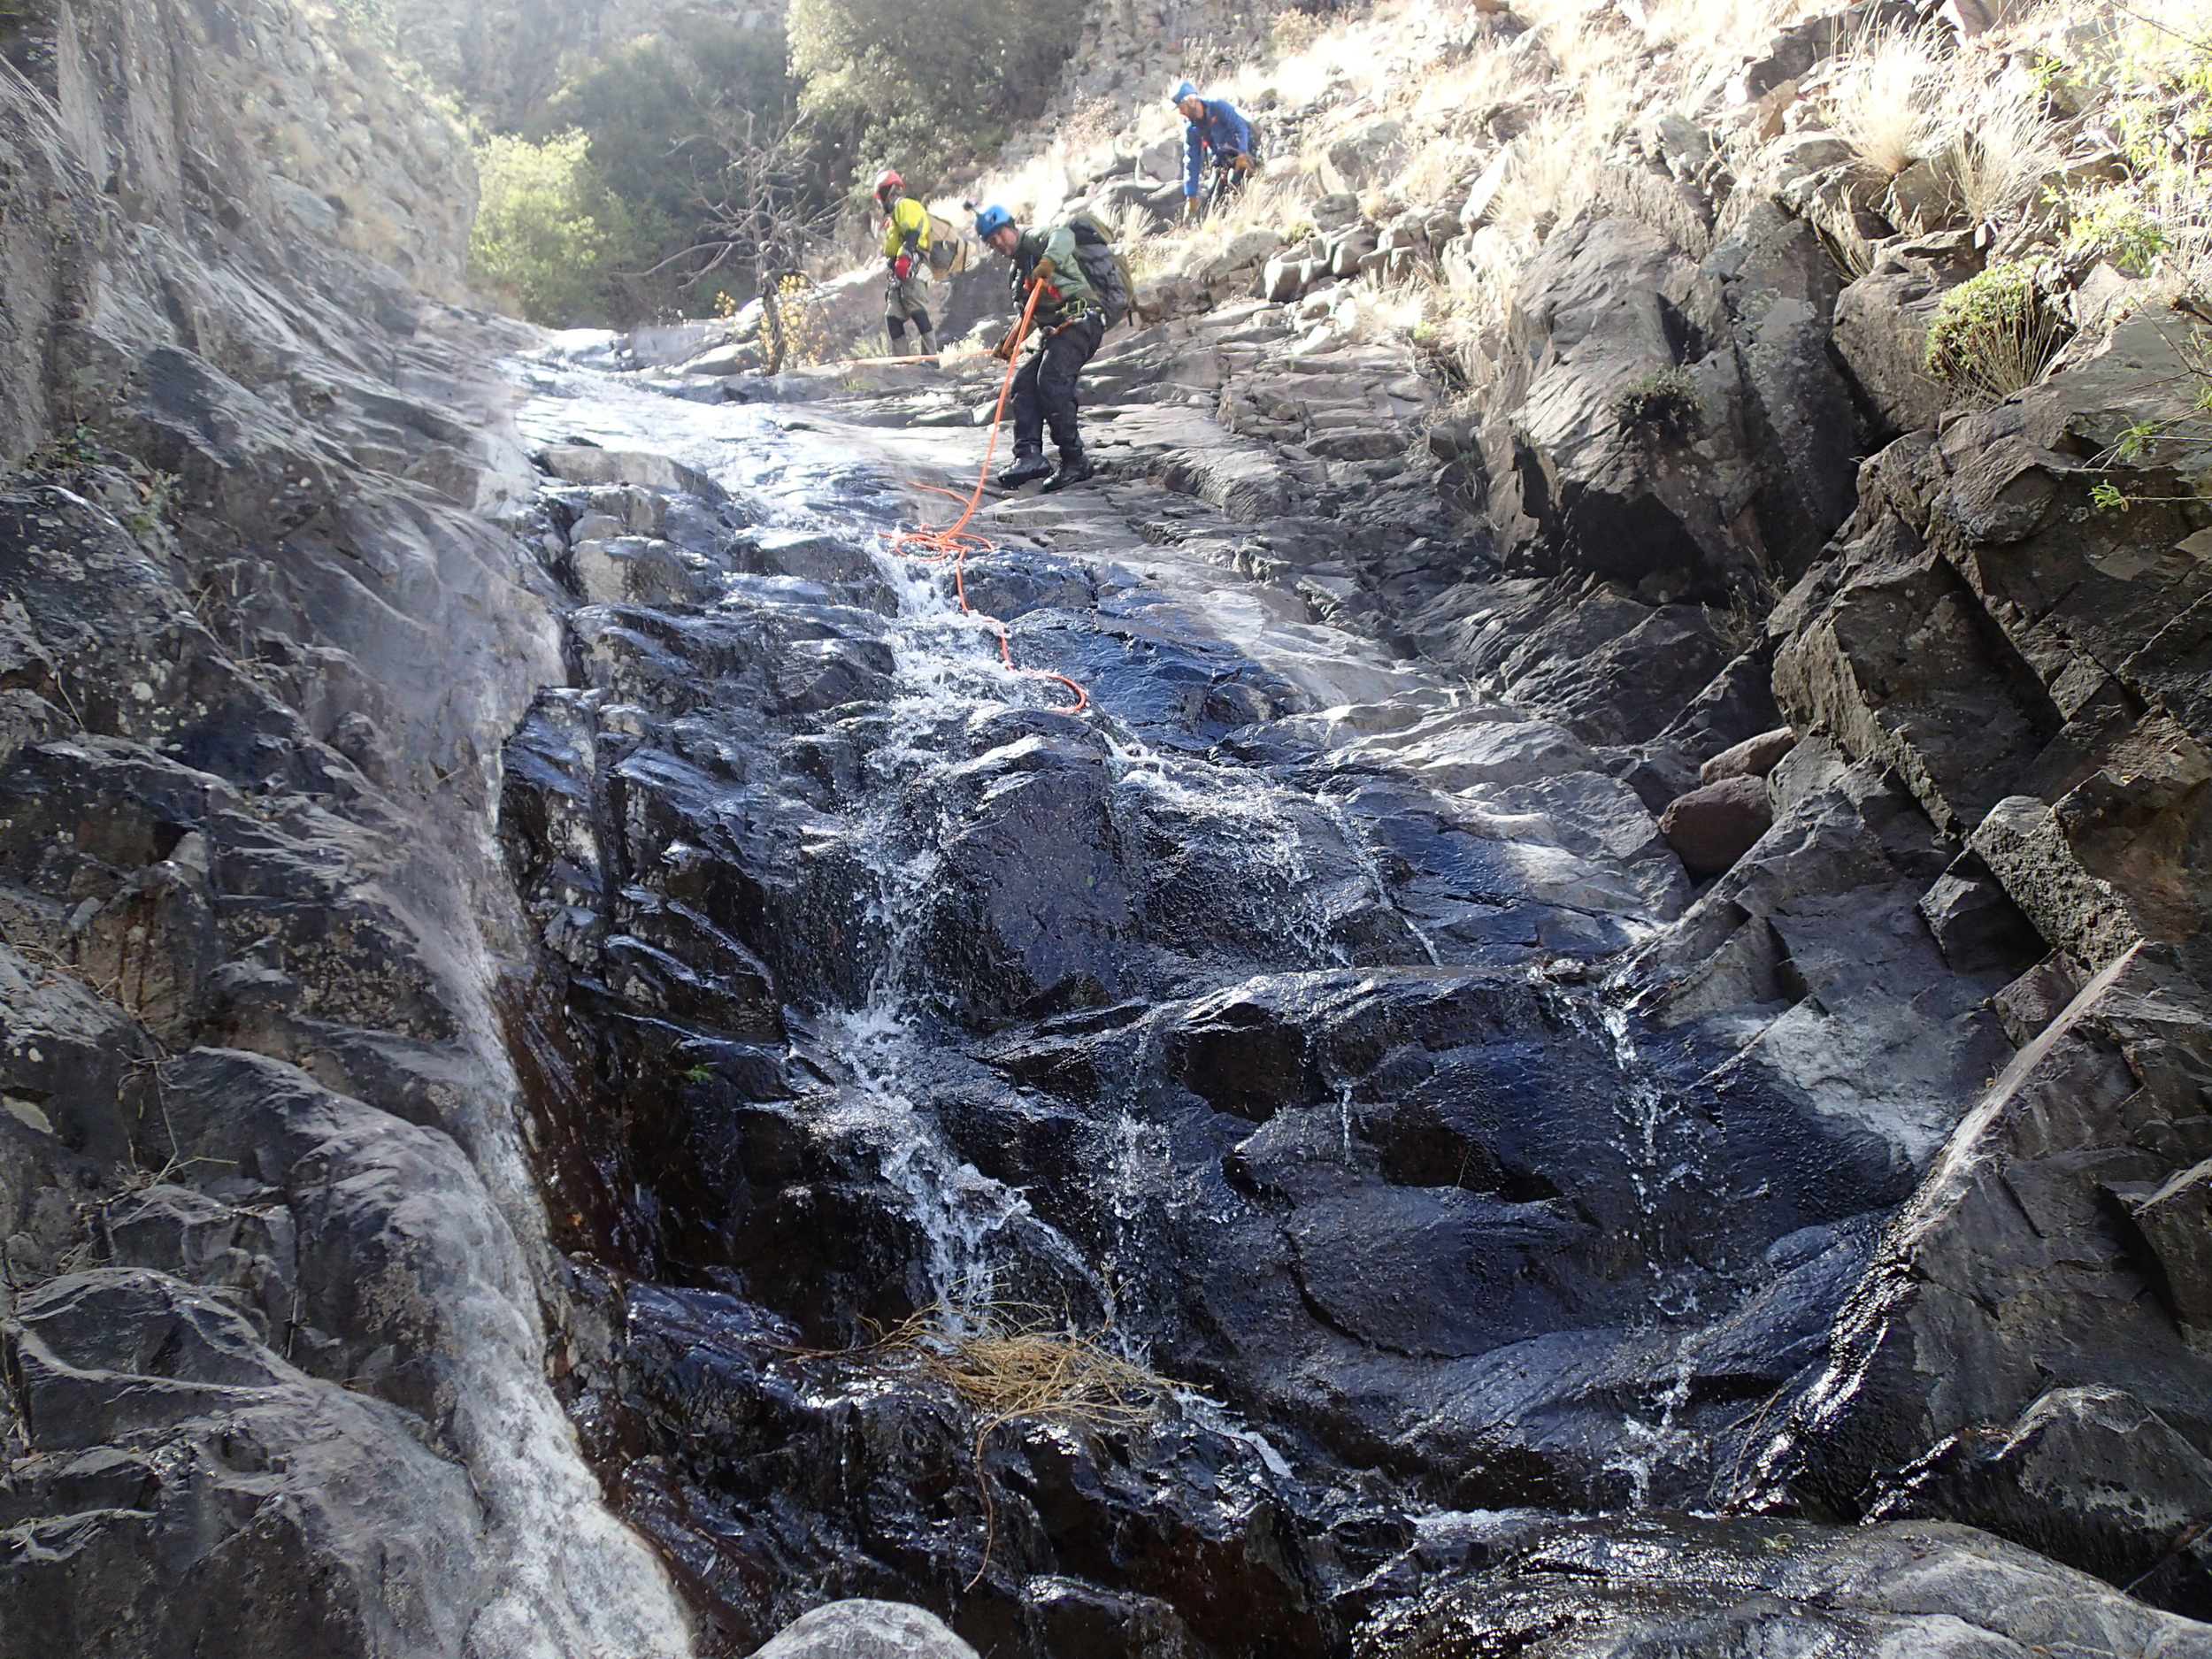
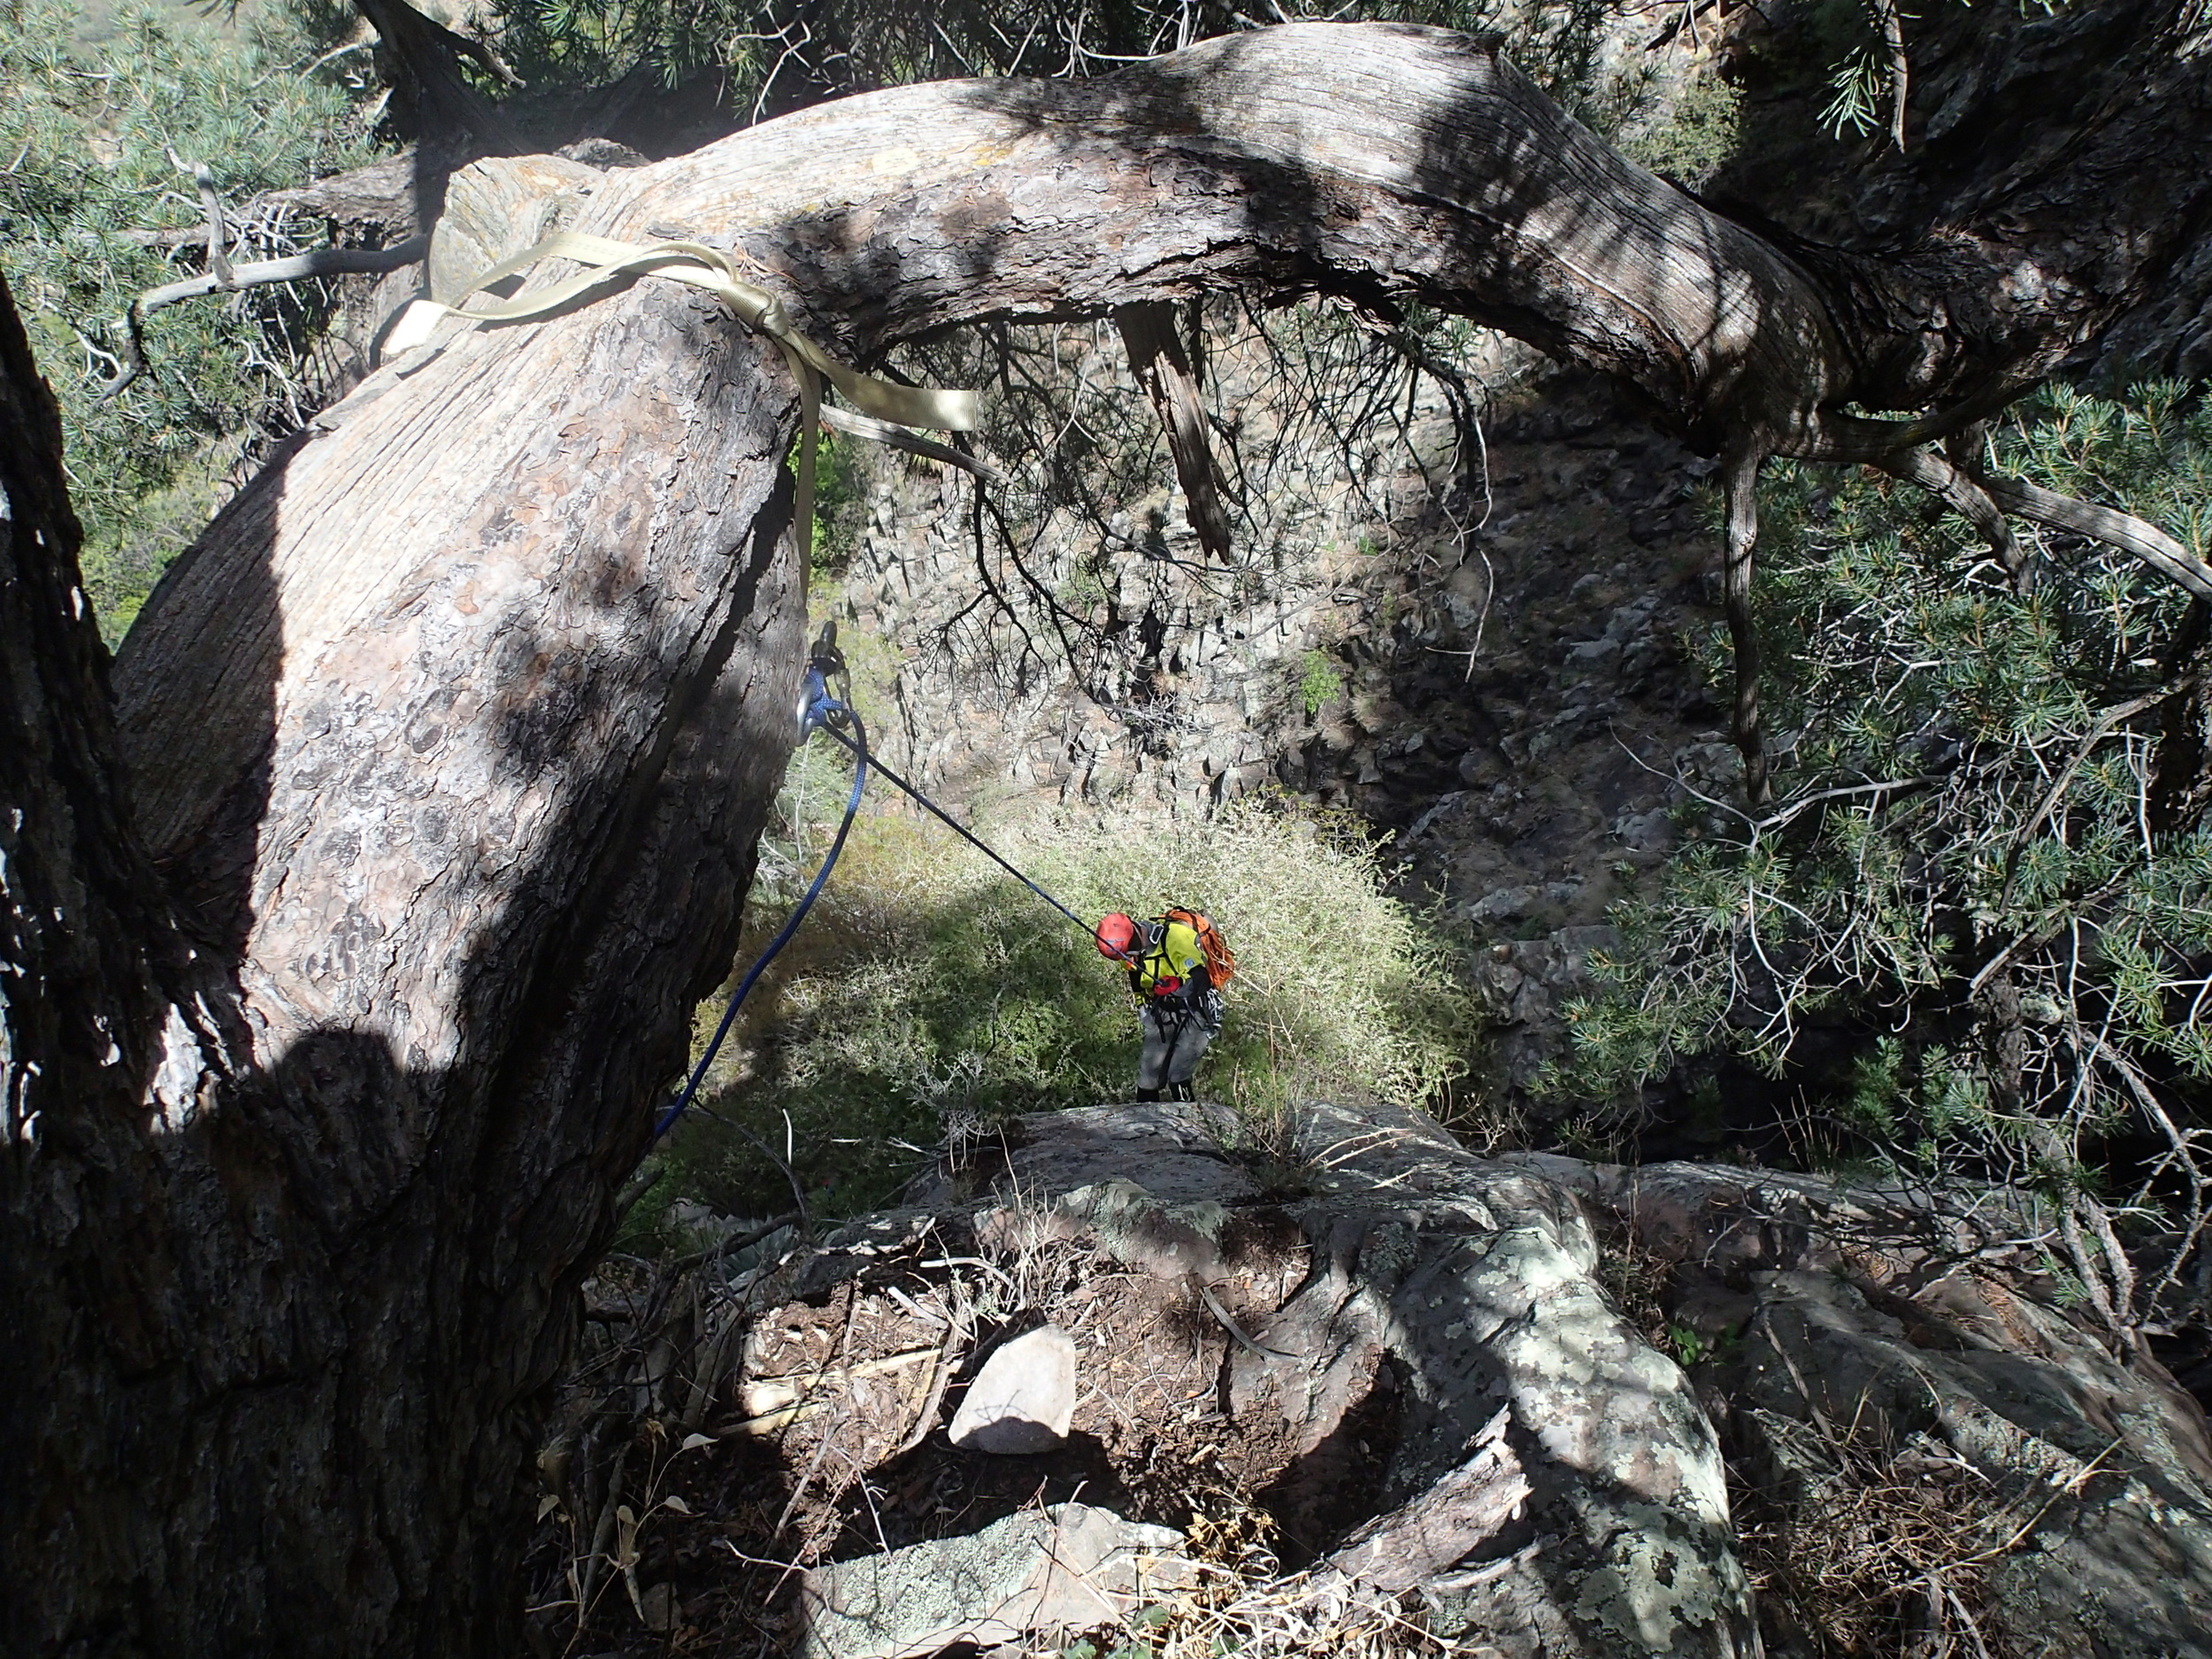
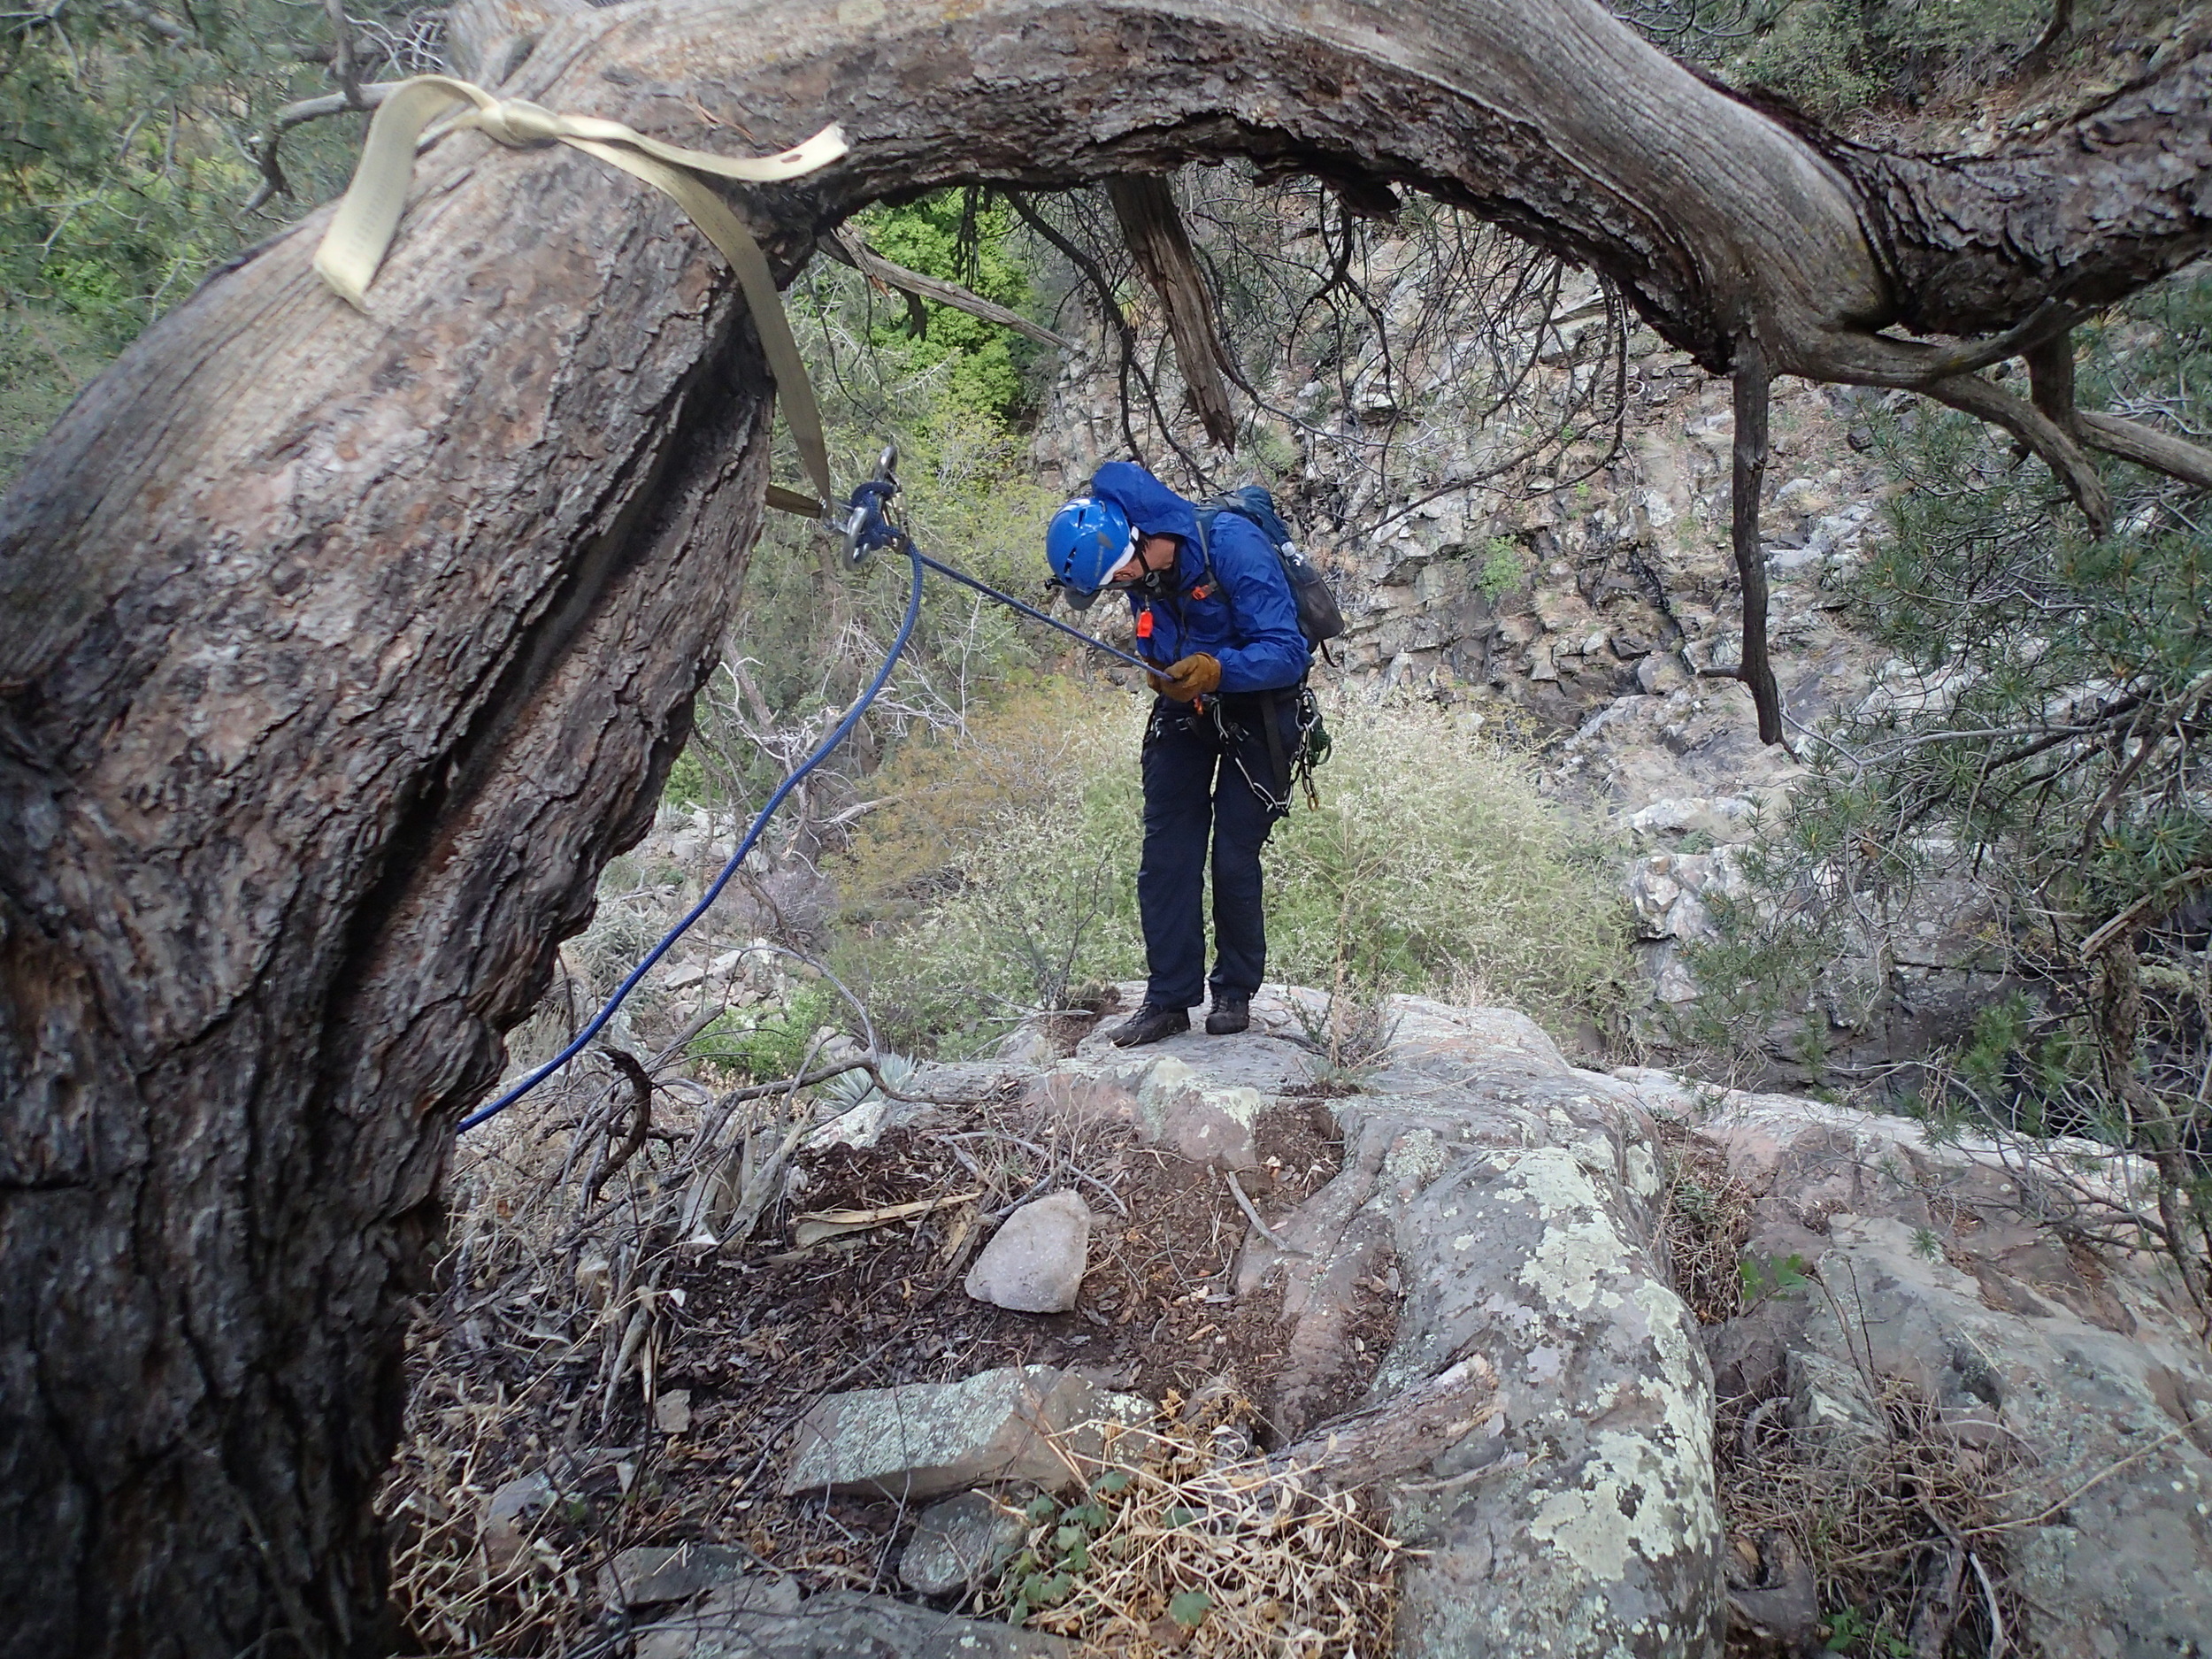
Illusions Canyon is a very scenic trip through the Secret Mountain Wilderness area and down to the West Fork of Oak Creek that contains several potholes that can vary drastically in depth with the season. We started our trip out early in the morning, leaving camp with a 100' and a 120' rope, pothole escape gear, and all the typical parts and pieces. We hiked out of camp with gear in tow down a fairly steep entry hill and quickly made our way to the first rappel. Once we completed the first pull, hiking was fairly open with lots of thick brush, downed logs, and some small pools of water. Soon we reached the heart of the technical section where it was one great feature after another, many short rappels, and some great down climbs in a fairly condensed area. It is in this area where at low water you could find yourself using buddy boost or other preferred methods to escape potholes. Use caution in this canyon and go with a good knowledgeable group familiar and capable of potentially deep pothole escape. On a recent trip back to the final pothole we were able to measure its depth to be approximately 15 feet deep and although full while we were there, reports from a few weeks prior mentioned the waterline being 7 feet below the lip, be prepared to negotiate the exit. Shortly after the last large rappel into the pothole, the canyon opens up. This is a great place to remove wetsuits, get a bite to eat, and organize in general before pushing on. If you have parked at call of the canyon the traditional exit calls for a bit of boulder hopping and bush whacking until you soon find yourself at the final rappel that will drop you into a shallow pool where all technical gear can be removed. Following the canyon out a bit further and just around the corner you will hit the West Fork where it is an easy 4.3 miles back to your vehicle at the Call of the Canyon parking lot. This is a great exit and will let you experience a portion of the west fork that people from all over come to hike. If you have parked up top exclusively, you will be exiting via the sneak route. Immediately after exiting the pothole rappel of Illusions keep your eyes open and approximately 120' (40 yards) down on canyon right you will encounter a drainage on canyon right with some downed logs that indicate the exit point. Working your way up this drainage can present several options along the way, choosing the path of least resistance to work your way to the top is recommended. Reaching the top of the drainage, walk the upper section and negotiate a hill to the west to reach the vehicle parked earlier.
Location: Arizona, Coconino County
Rating: 3A-II (III if hiking bottom up)
Longest Rappel: ≈ 160'
Crack addict is a straightforward short trip through a fault crack that seems to see action when people are out enjoying the Sedona area and looking for something short with fun payoff. Throughout the trip there are approximately 10 rappels encountered, most dry, but typically a shallow (waist deep) pool roughly two thirds of the way through and a pool (up to shoulder deep) at the base of the last large drop near the end. We typically travel through with a couple 200' ropes anda 100' to cover the drops, along with an insurance policy. Mind your rope placement and pull on the final large drop as there is a crack near the bottom that seems to be a rope magnet on occasion during the pull. It may be possible to bypass the first of the two pools, but typically the final pool has at least one member getting a little wet. There are a few ways to approach the canyon and depending on your situation, one could drive in and simply loop back up Sterling back to your vehicle, set up a shuttle along 89A, or by hiking in from 89A via Sterling Canyon. Looping around back to the top will most likely be the option that saves the most time, assuming your vehicle can travel down the sometimes very rutted 535A. Driving in to set up a shuttle is an 11.8 mile journey that allows you to park, walk five minutes down a hill, and start the journey. This of course requires two vehicles and the road here can be rather rough especially on 535A and high clearance would prove beneficial on occasion. The third option is entry by hiking up Sterling canyon, working up the hill, and hiking over to the drop in. This requires slightly more effort to complete, but allows access by a single vehicle with no special off road capabilities as the parking location is directly off the pavement of the 89A. The track in blue represents where parking has been traditionally used for the shuttle route, while the track in green depicts the tank loop route. One thing to note, is that there is a gate on 535 that gets locked in the winter to prevent access due to snow. If this is the case, its my experience that hiking in to complete the canyon can be slow, dangerous, and probably not the best idea. Checking to see if this road is open prior to heading out will most likely save you from a long miserable day in a snowy canyon.
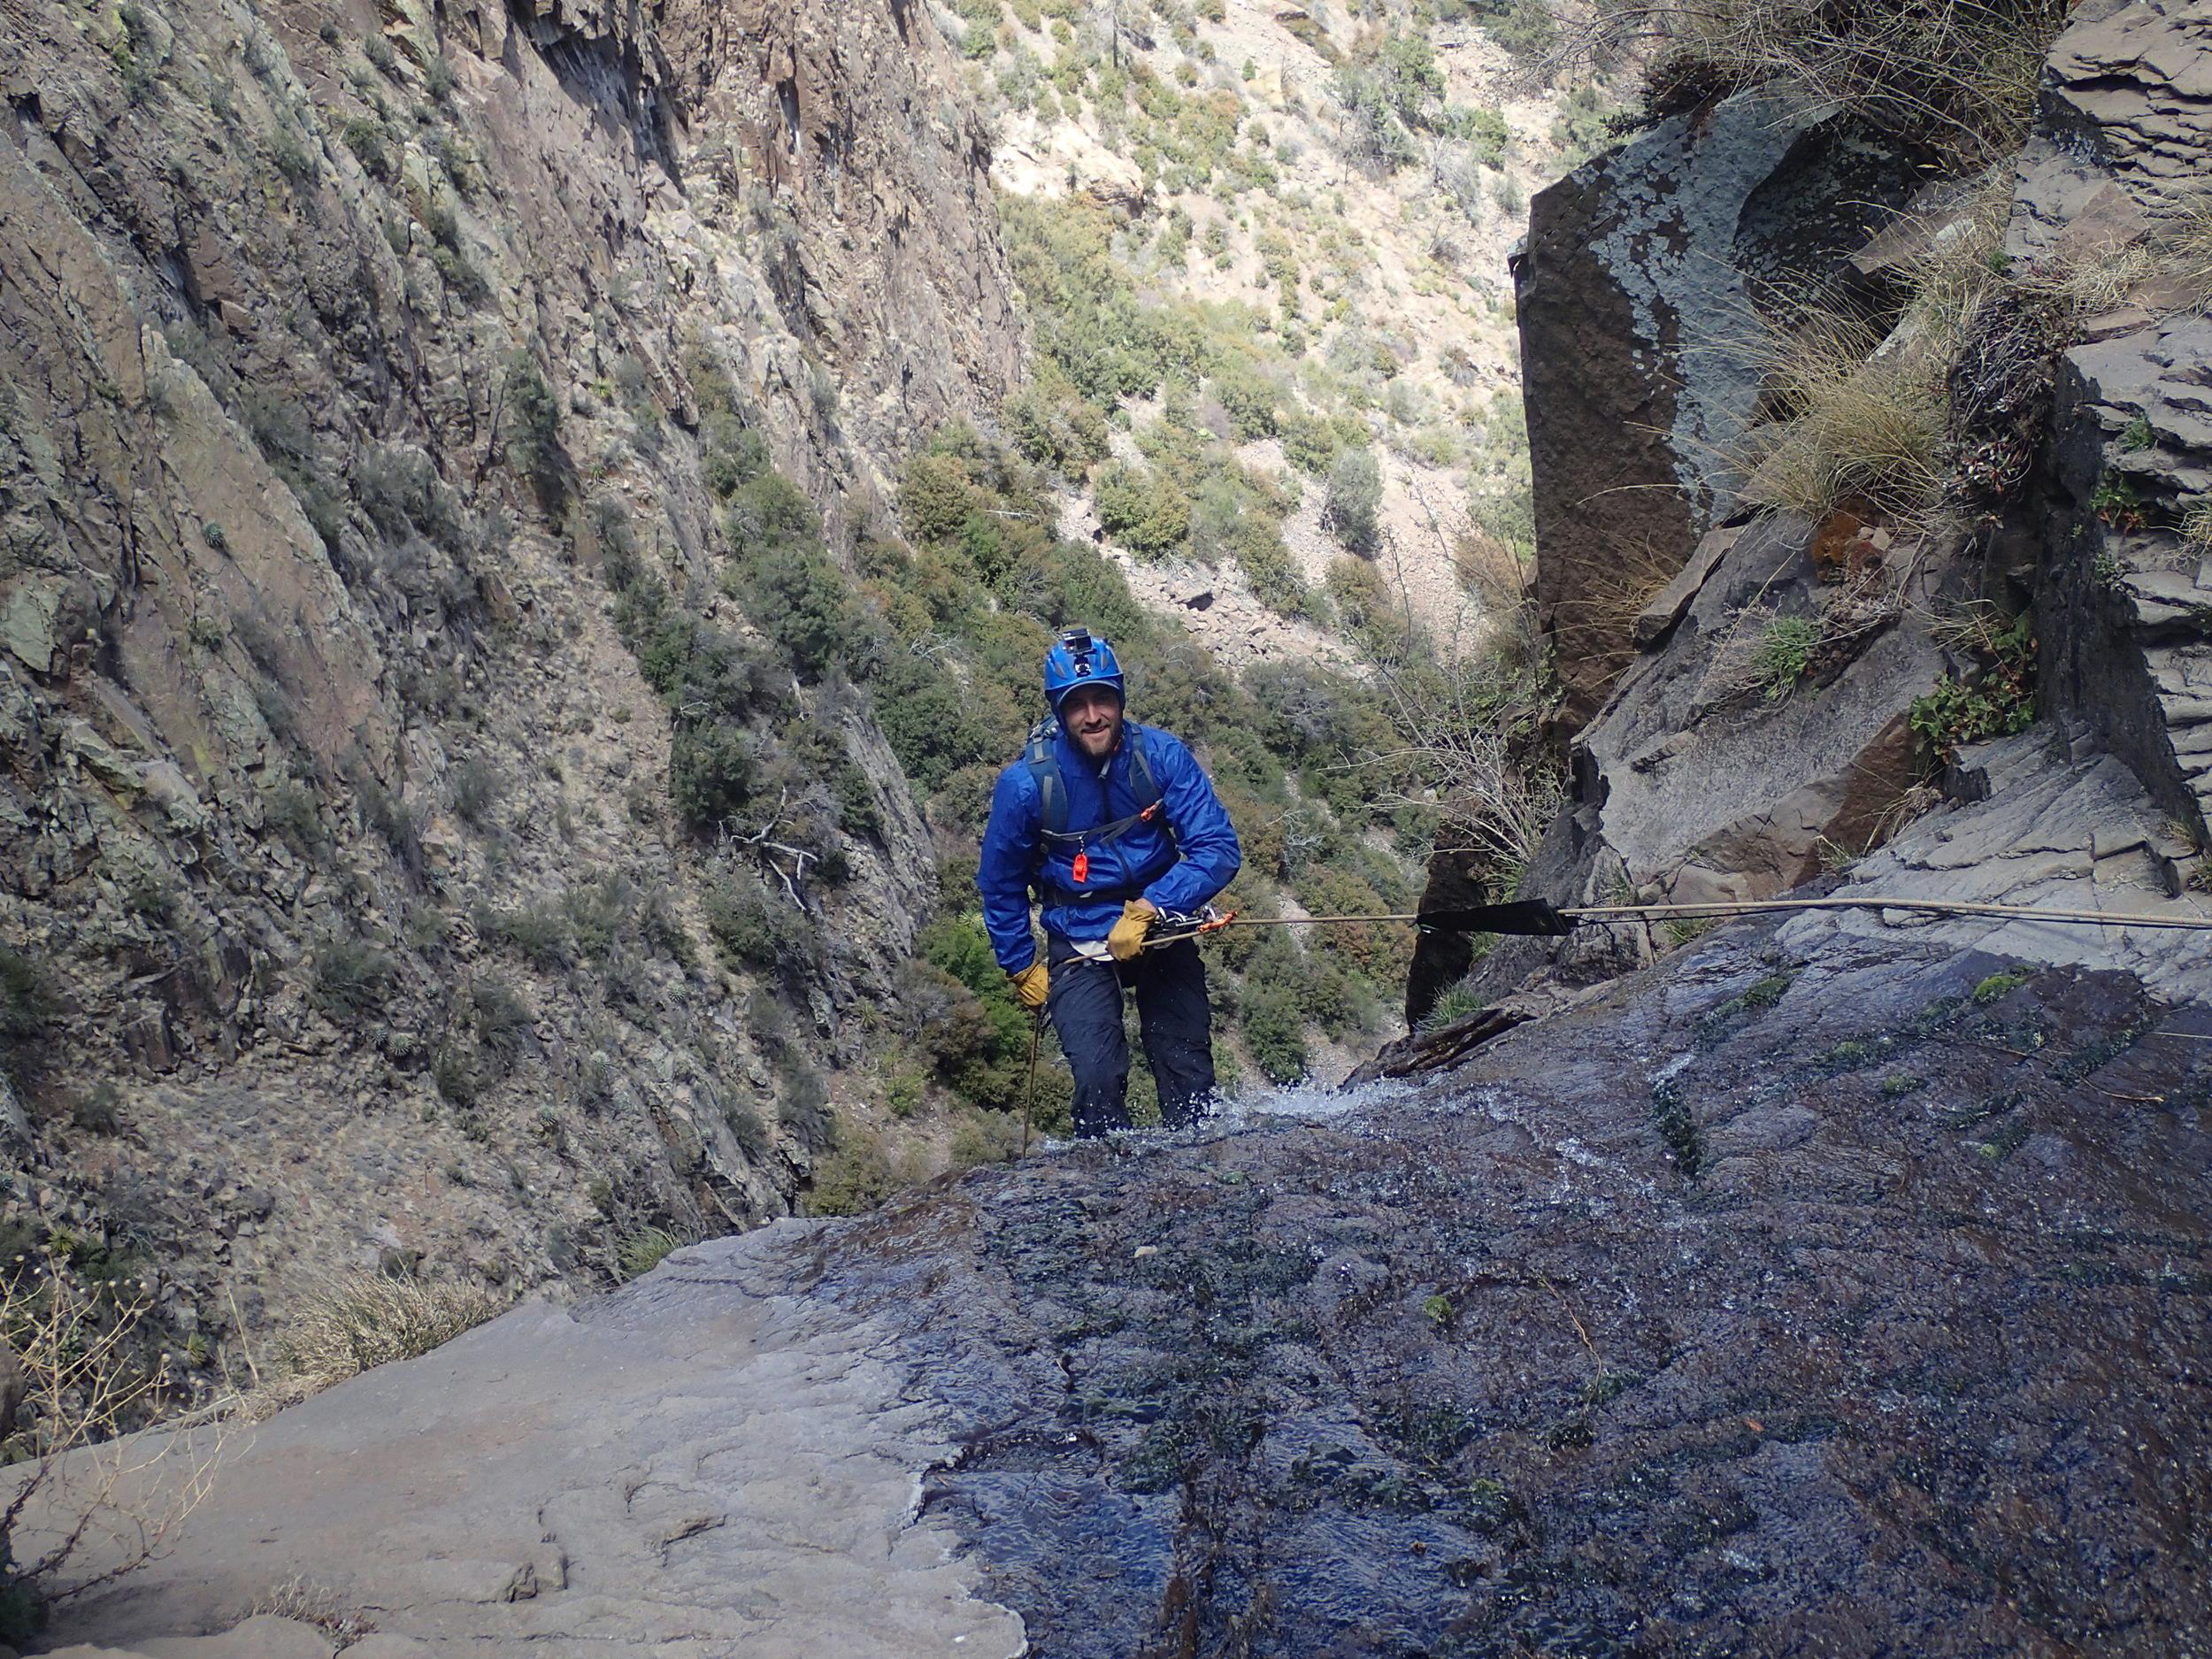
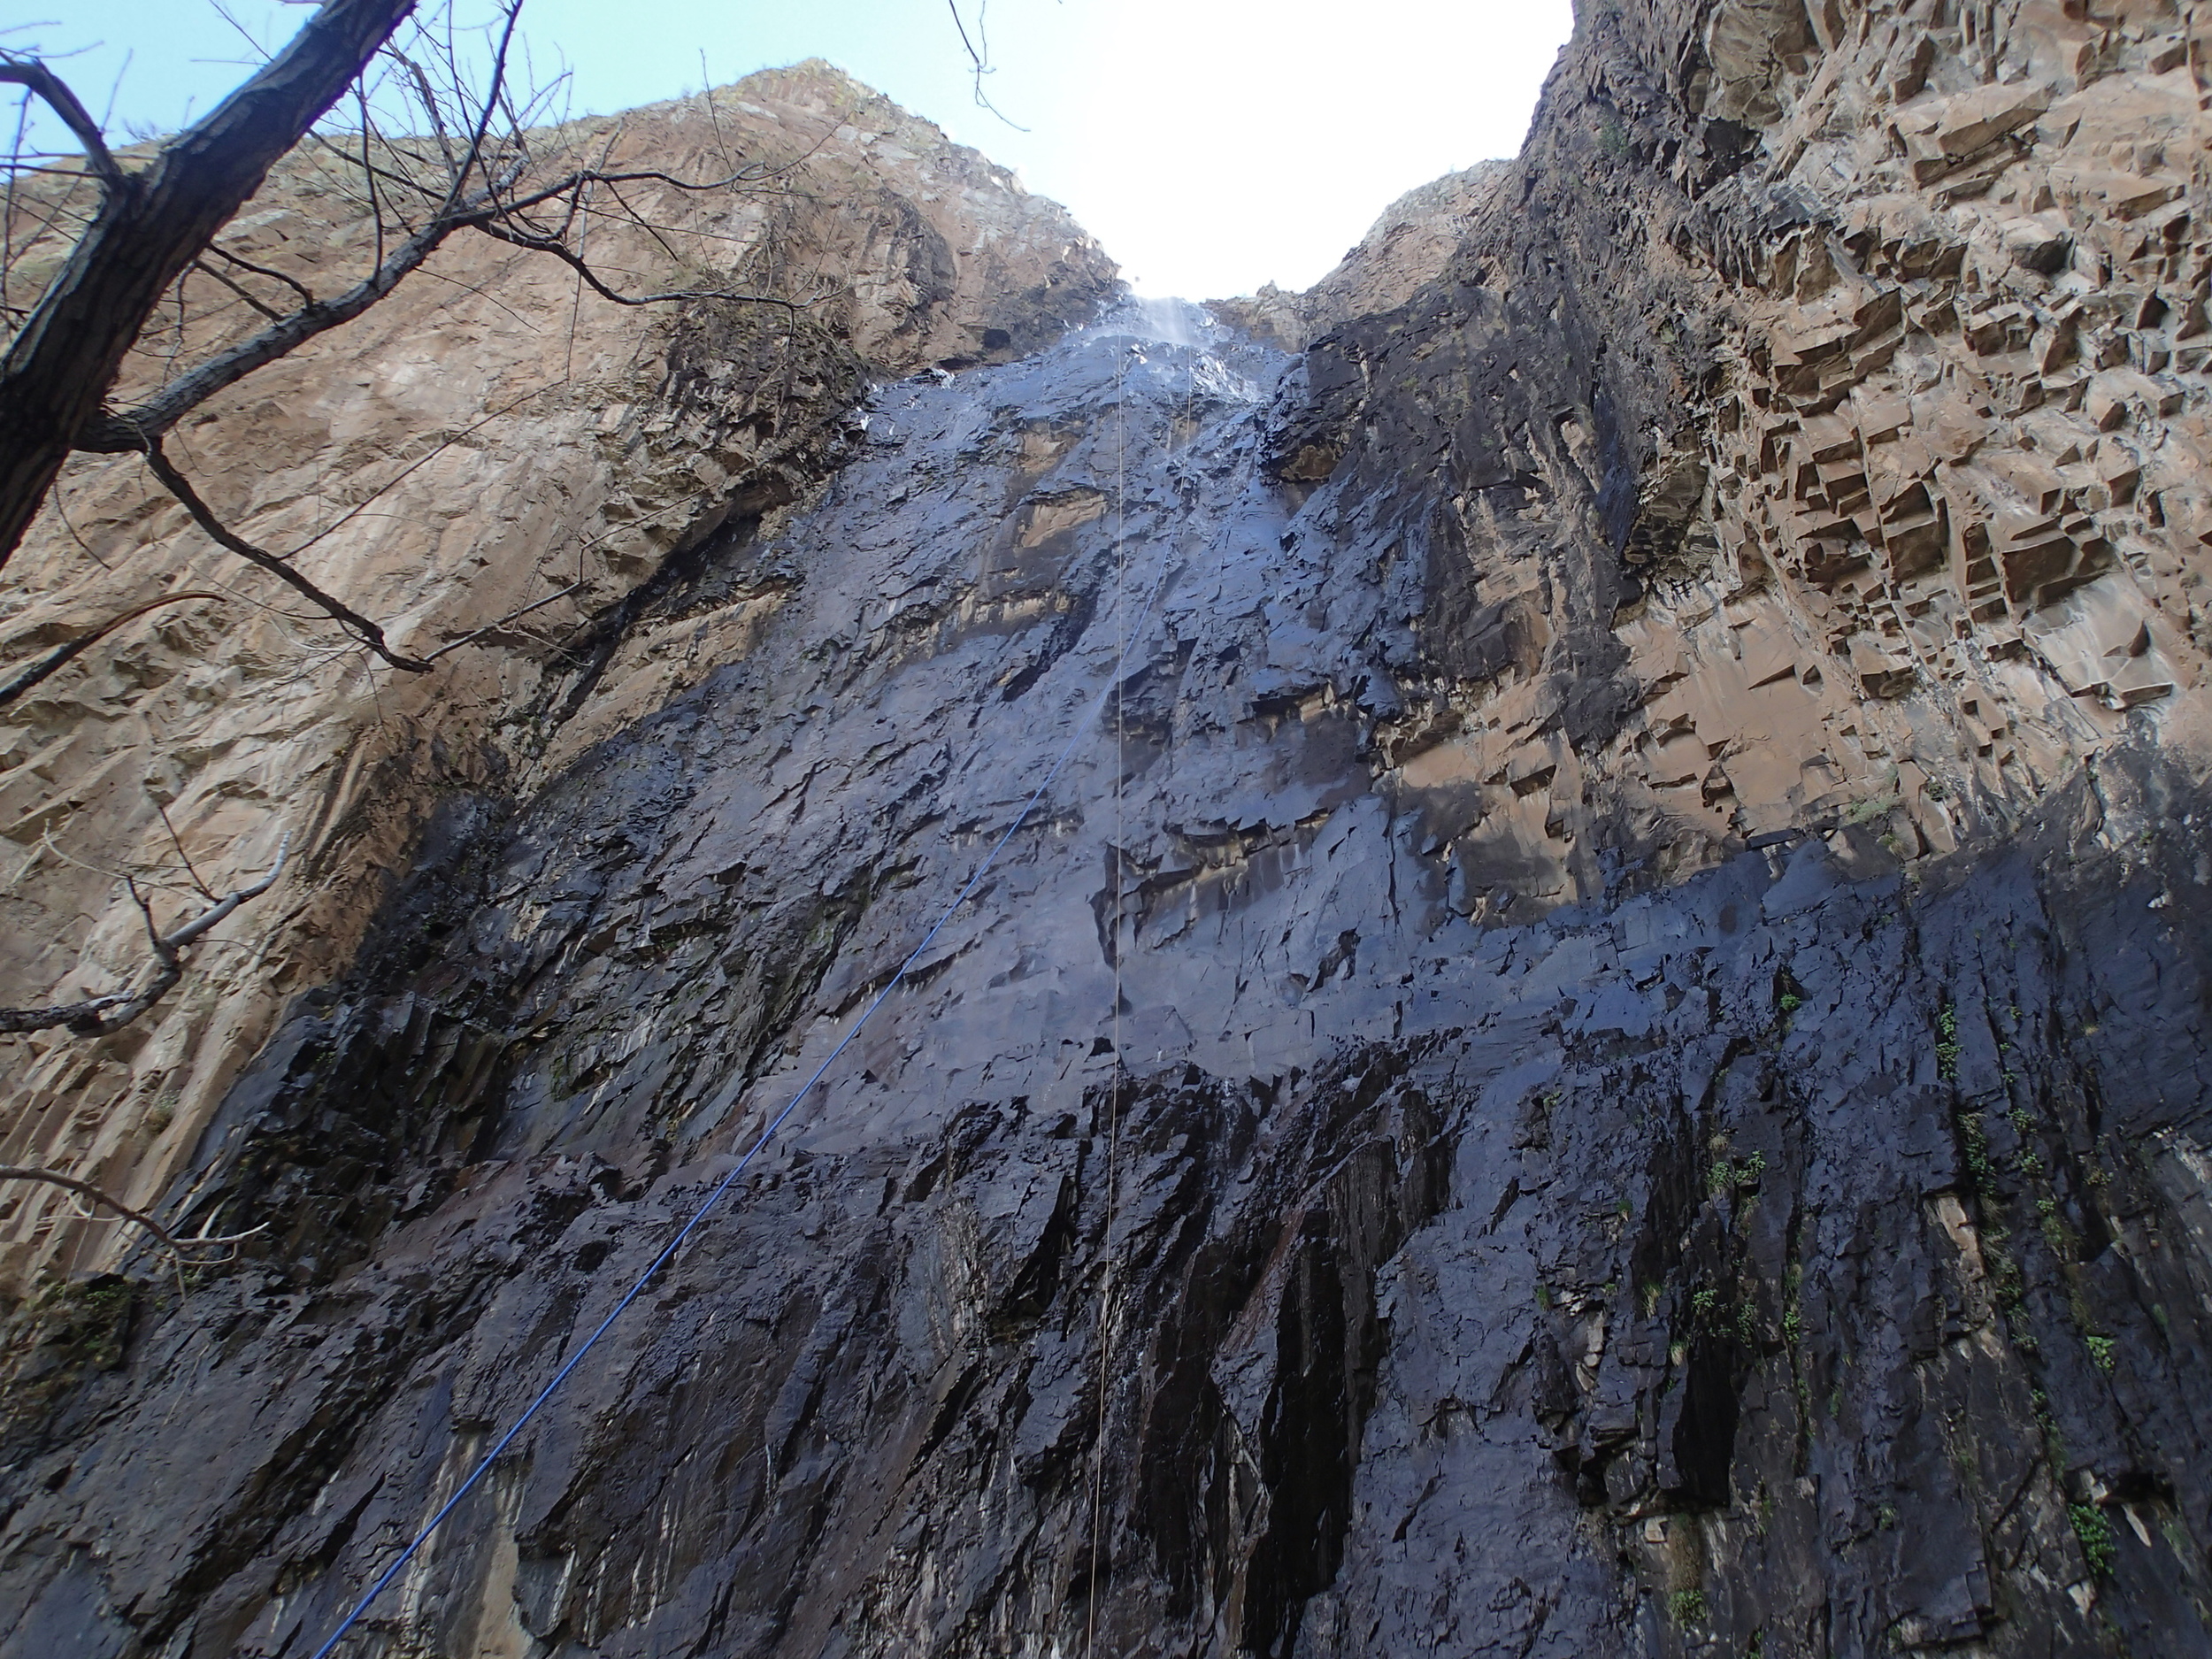
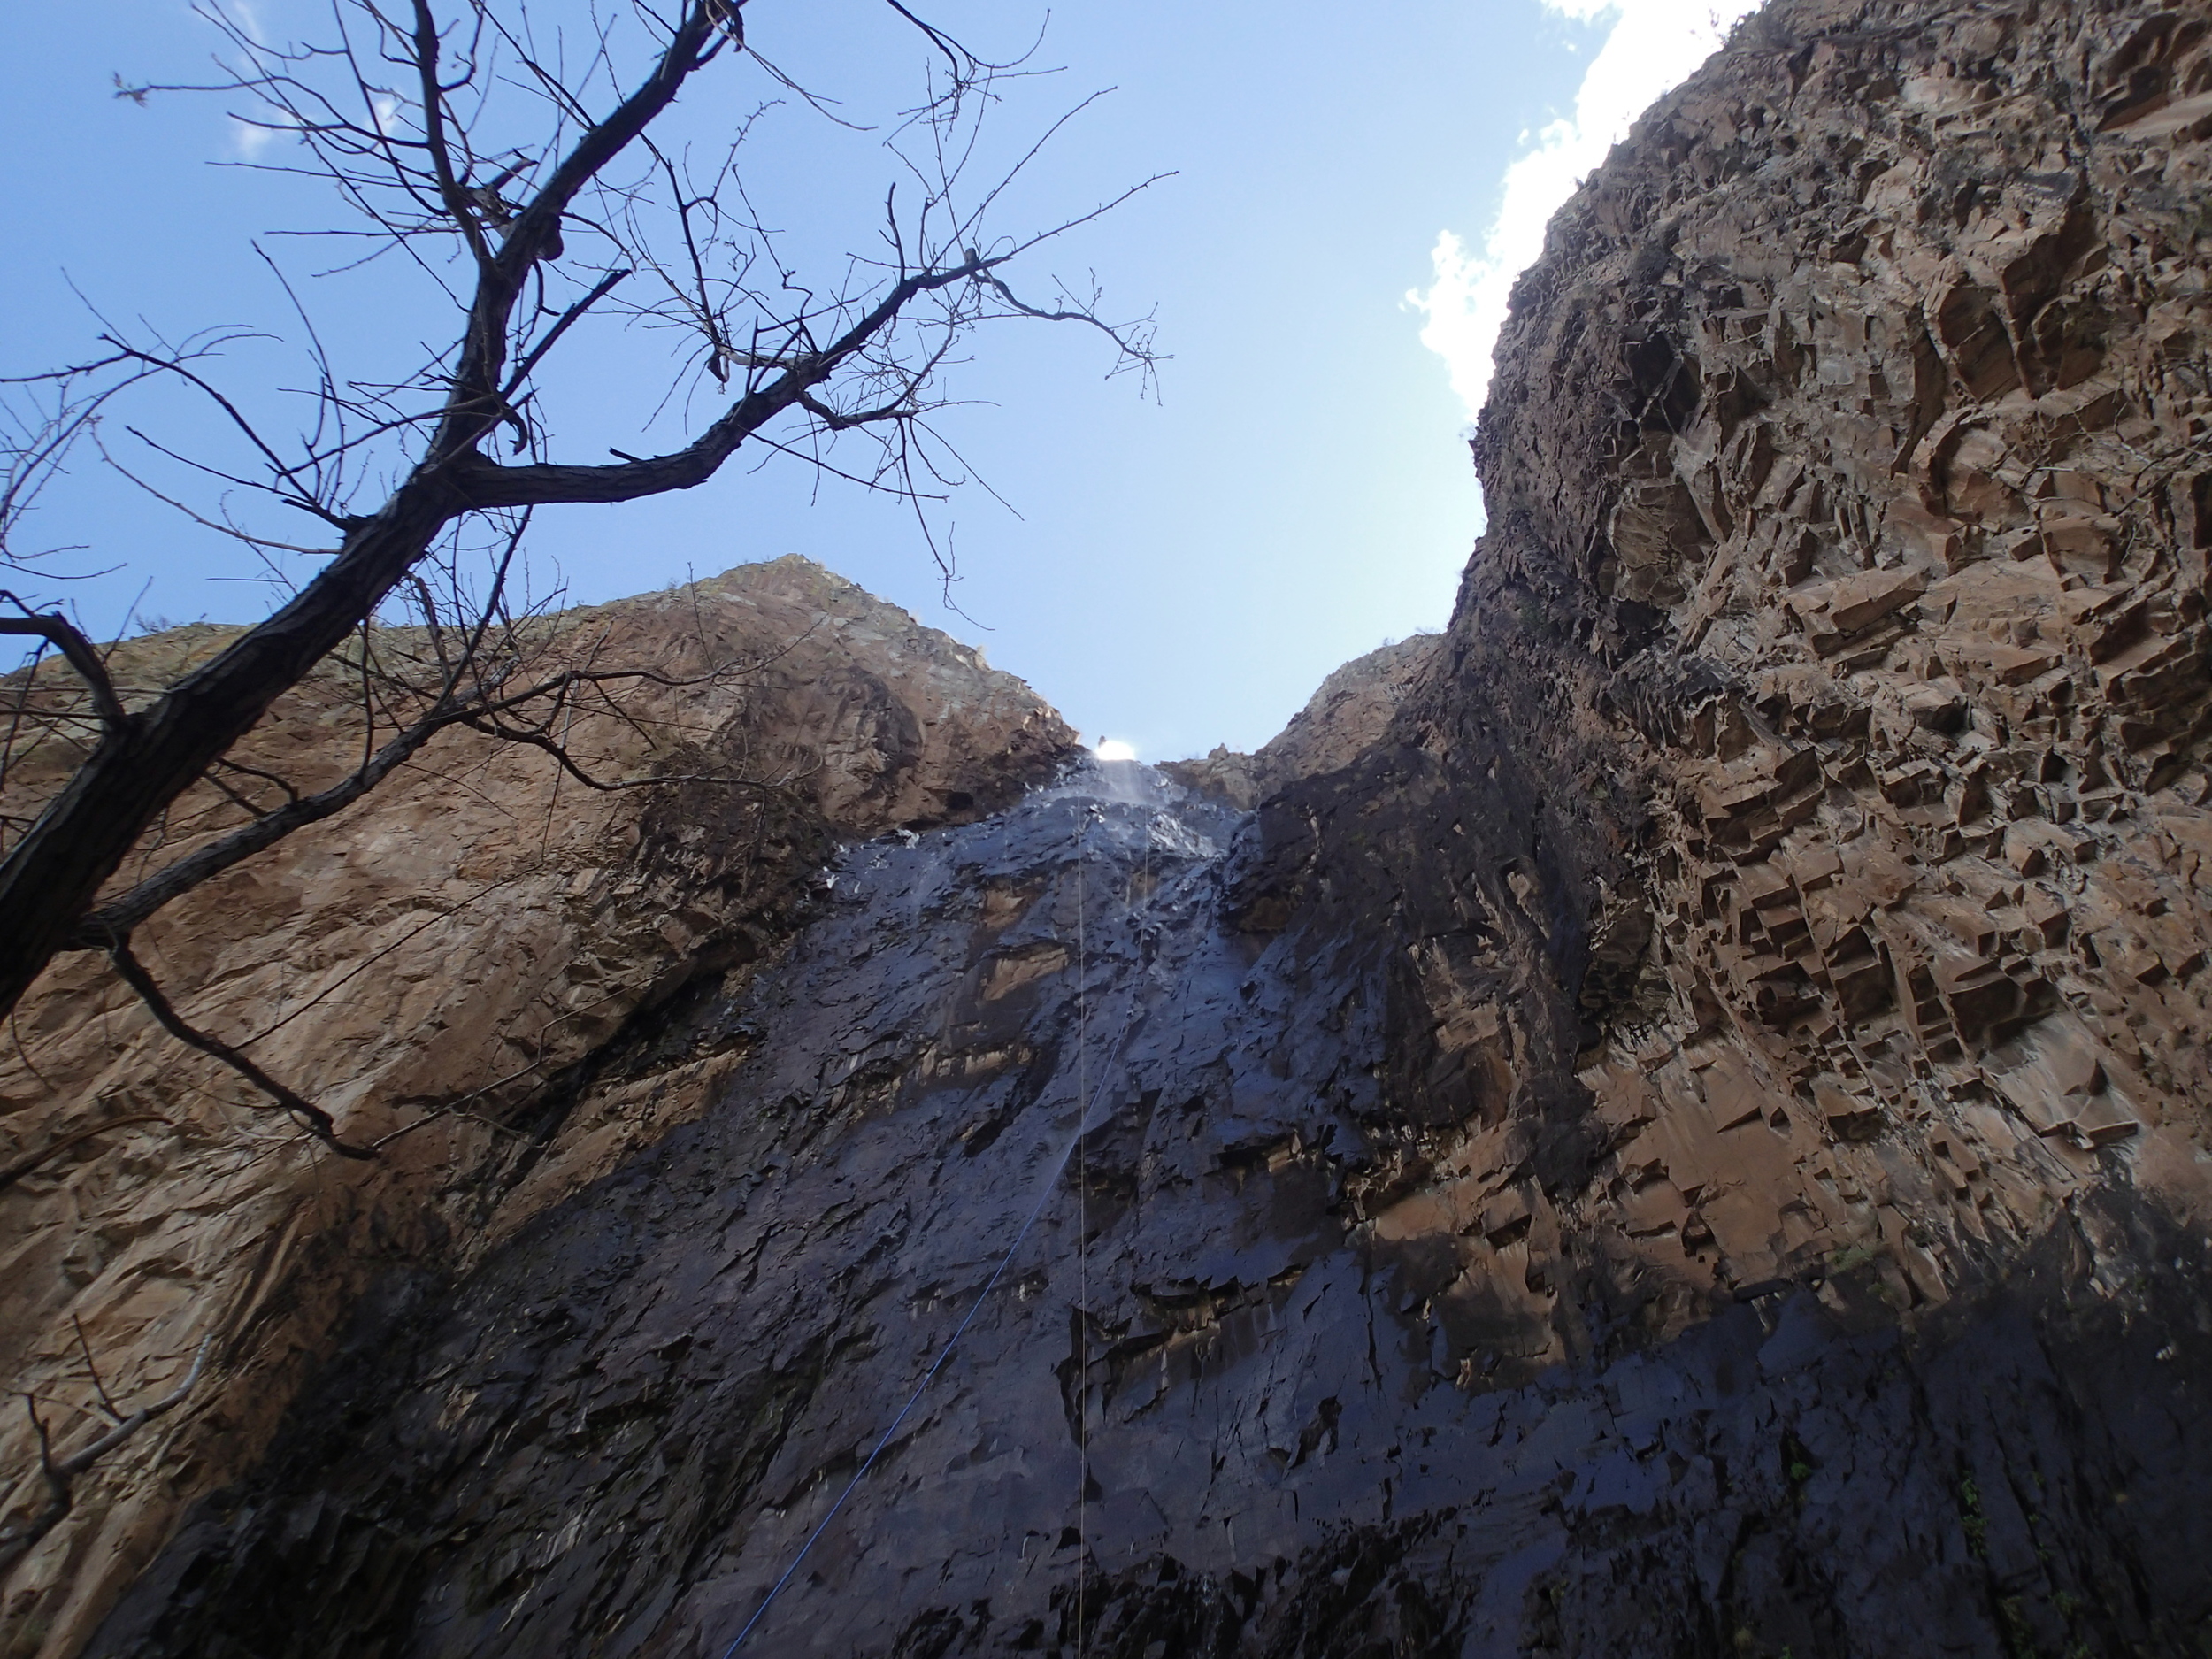
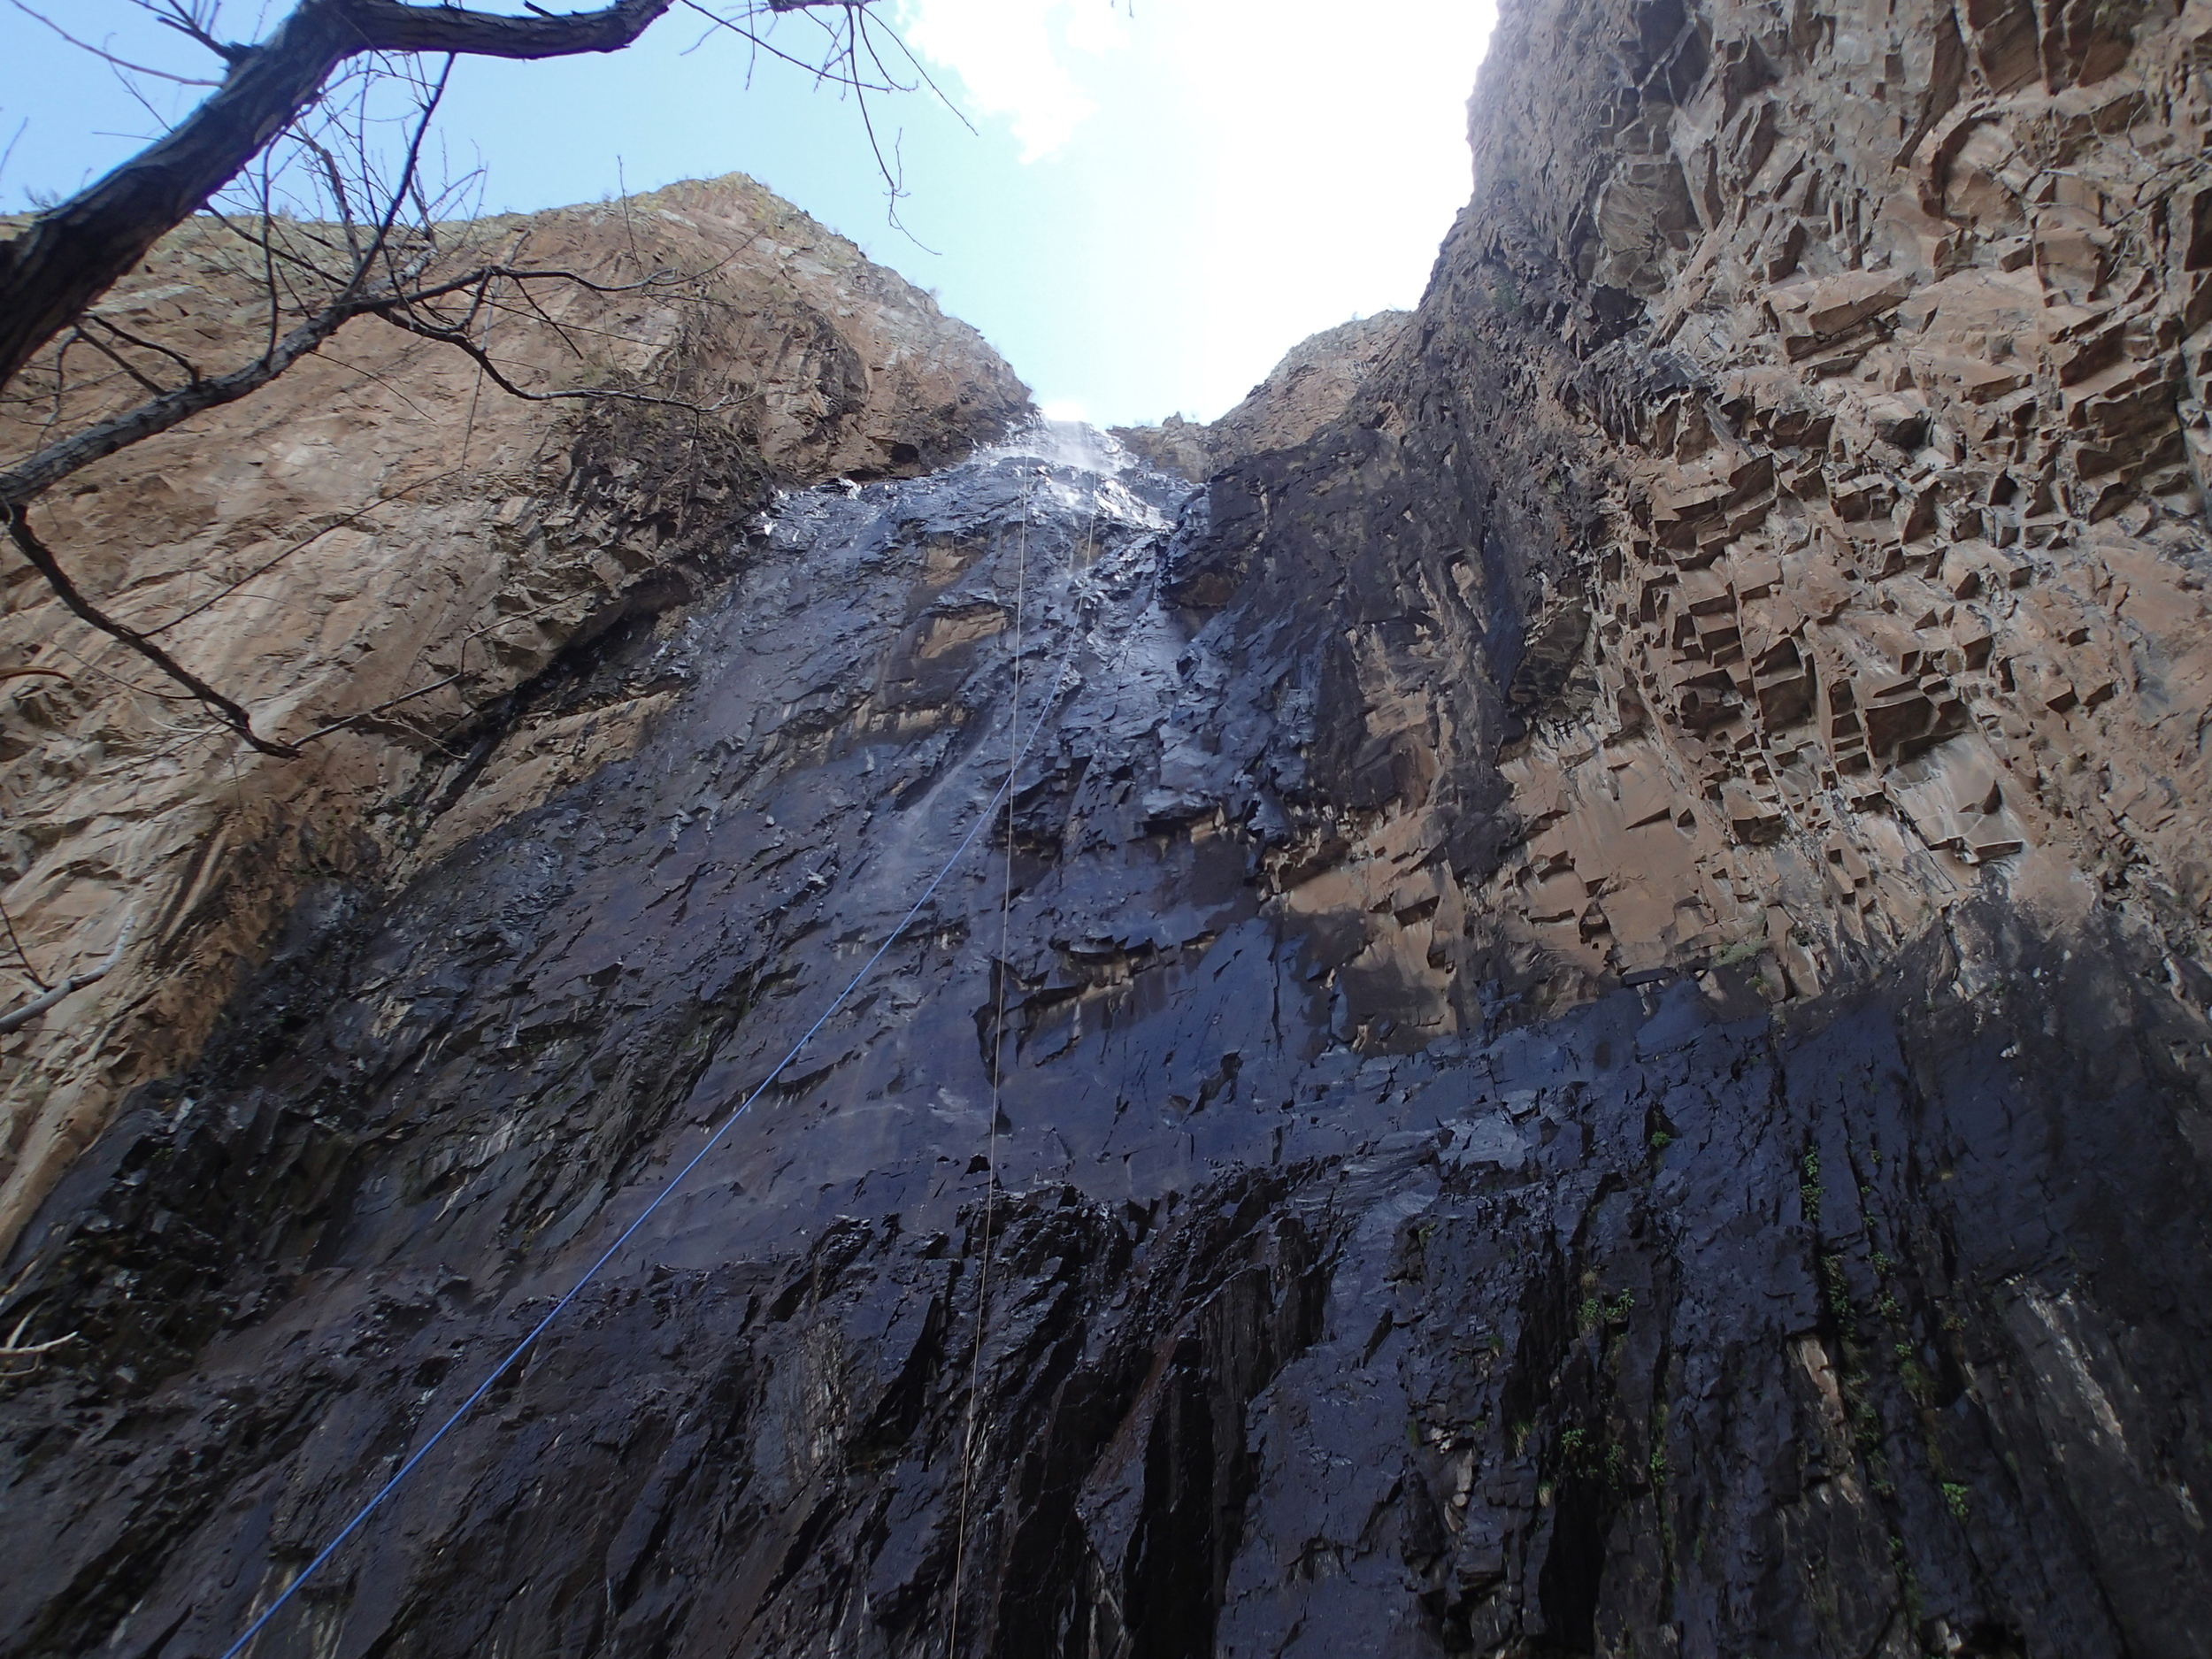
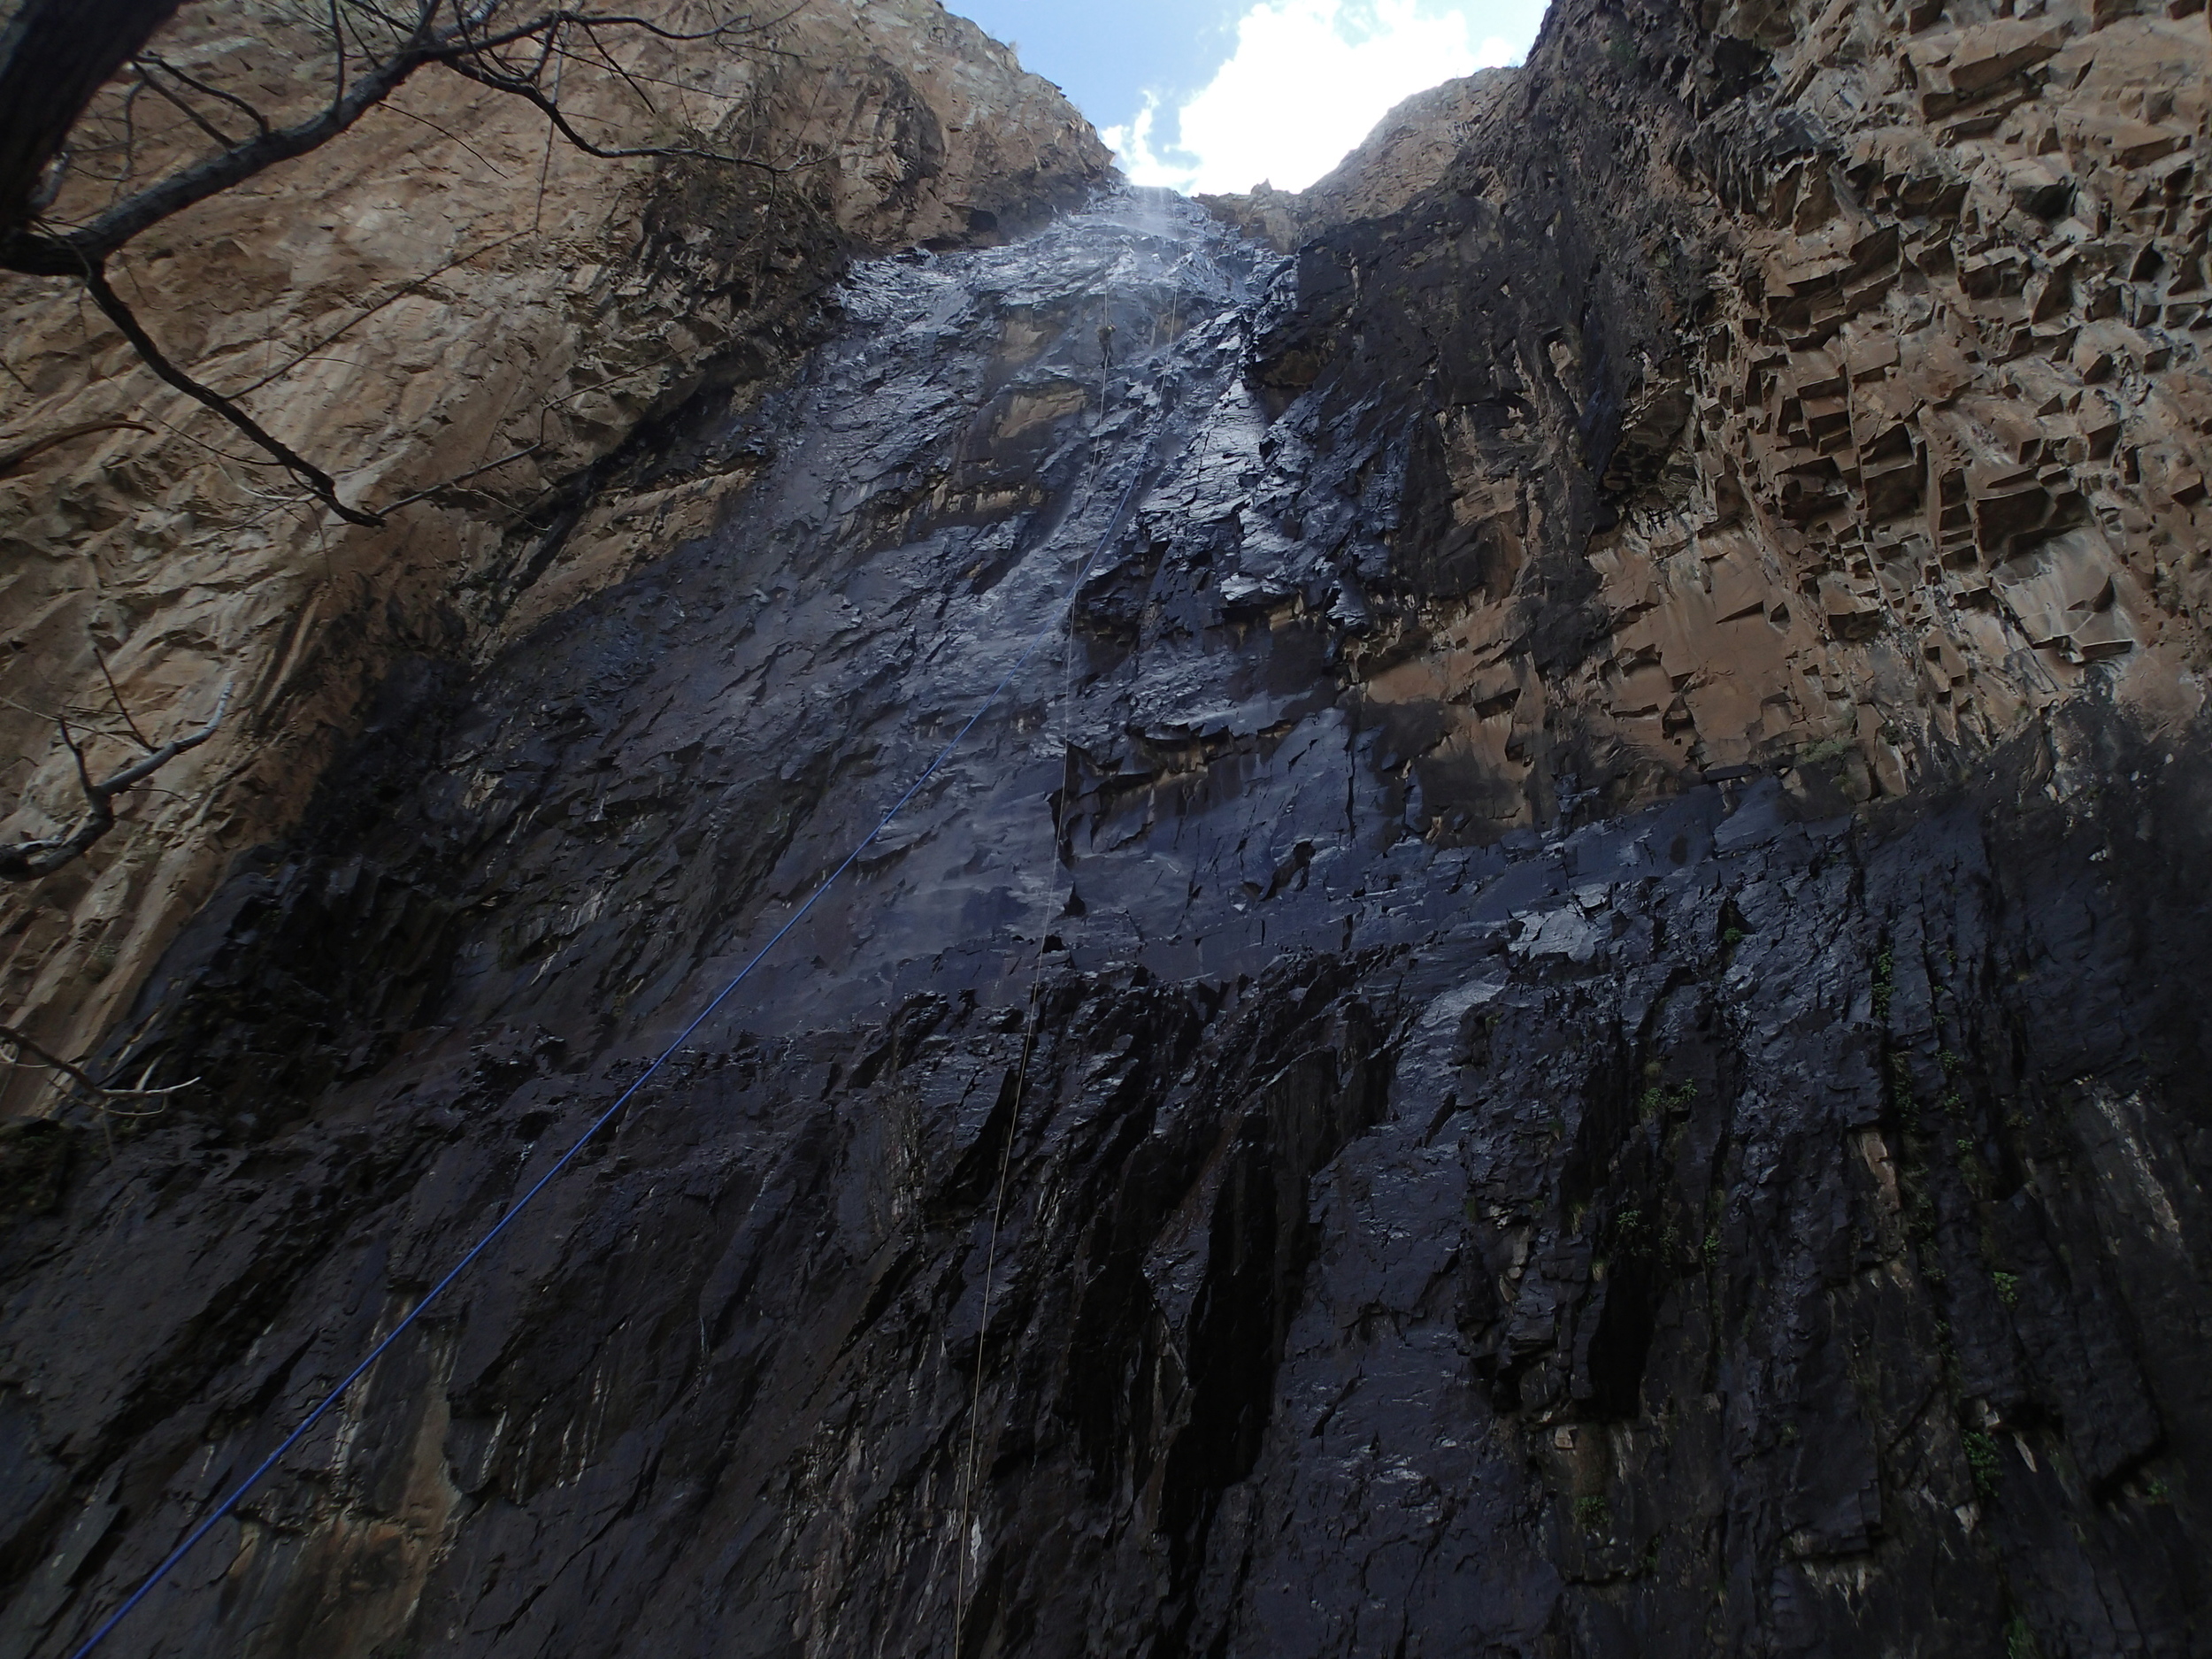
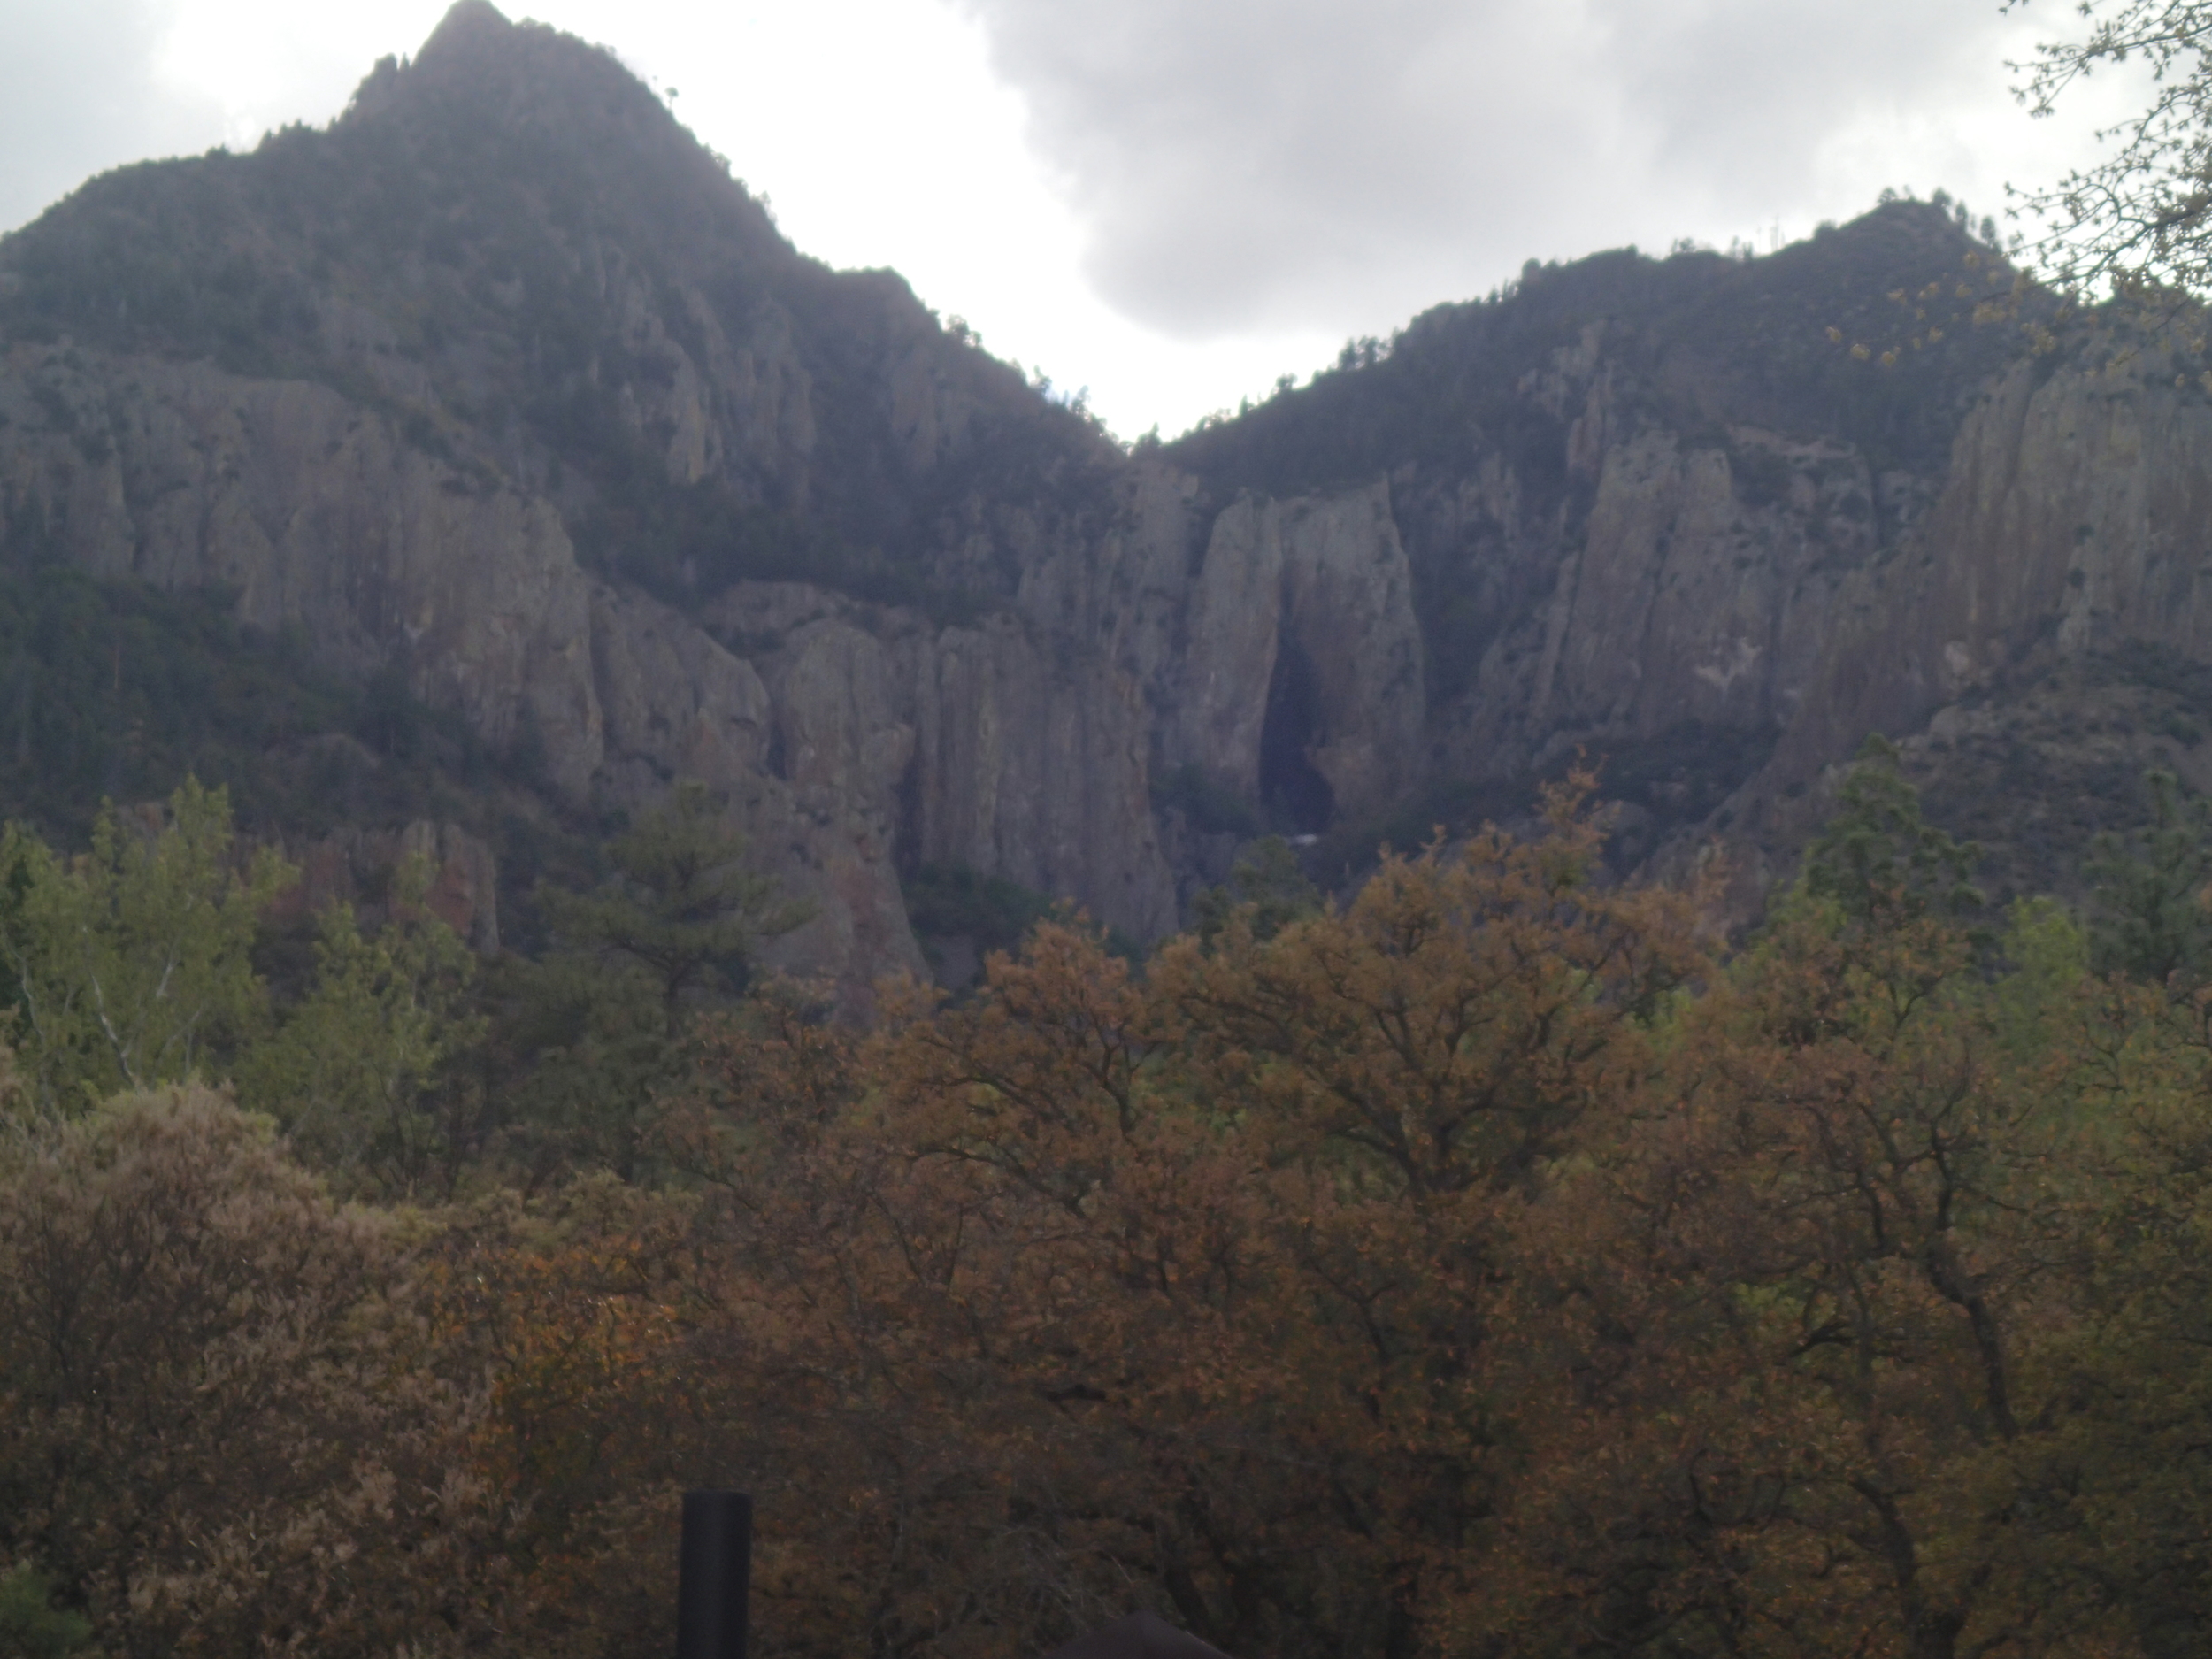
Decided to finally execute a plan regarding the exploration of Winn Falls. Not knowing much about it except that it may be pushing close to 400' high, we formulated a plan of attack, trained in the areas that could prove to cause trouble, gathered gear, and attacked. As suspected, the drop was BIG (425') of rope required to reach bottom. The drop was flowing, but not heavy as we decided for a first descent, less water would be beneficial should any issues arise. Following the big drop, we ran into a series of smaller rappels/down climbs until we were able to rock hop out of the canyon.